Custom Container Solutions for Optimal Concrete Washout
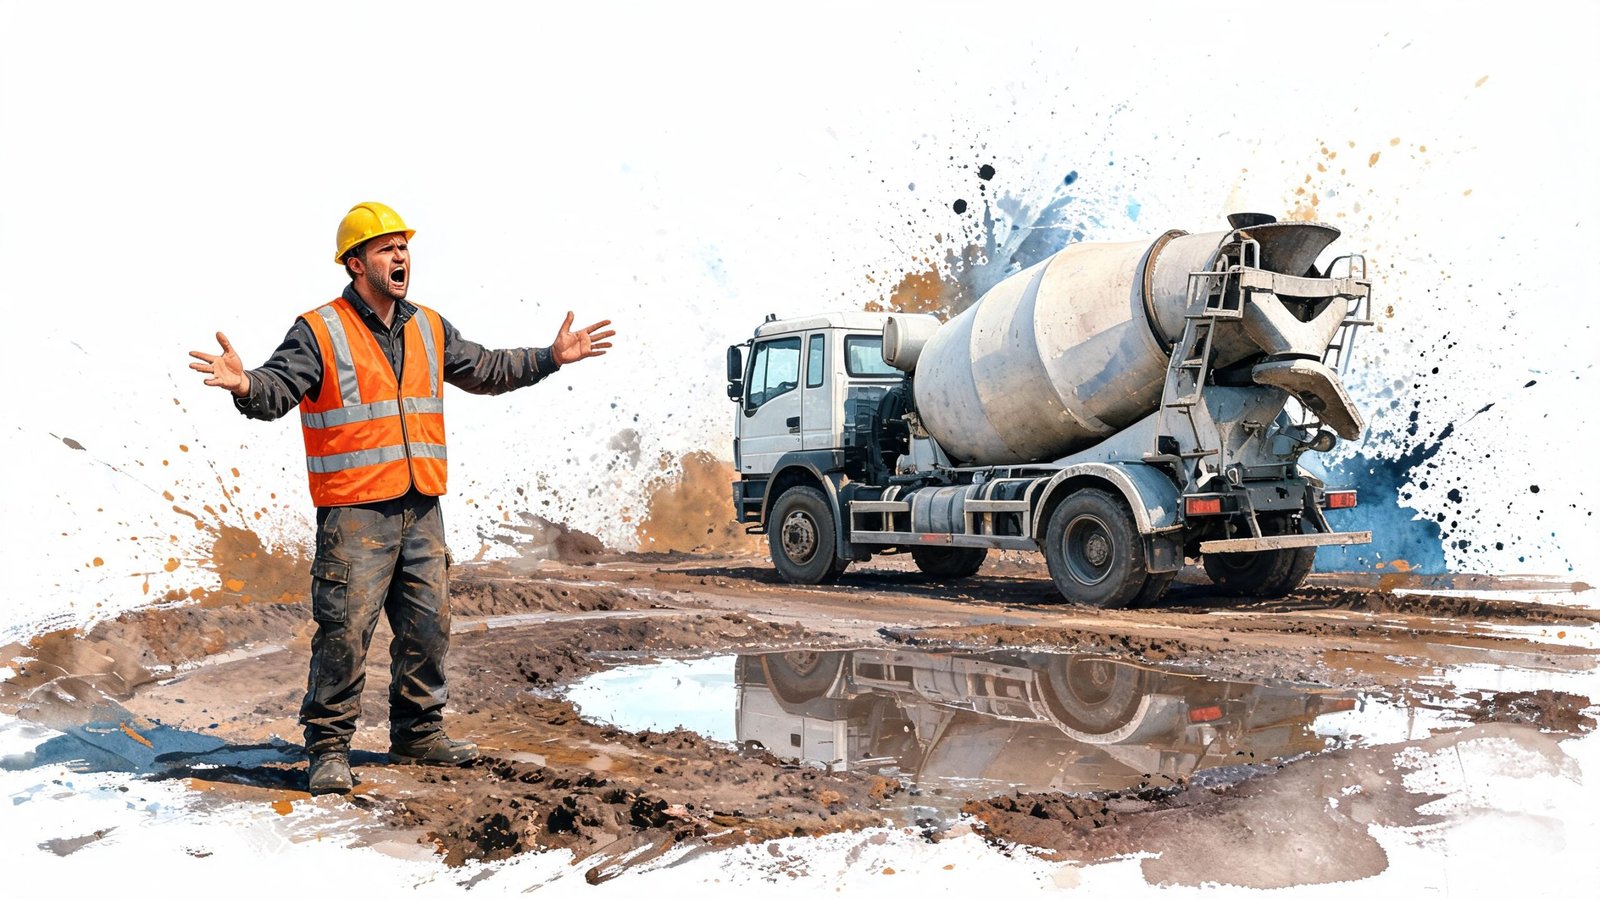
The truck is backed in. The chute is down. The crew is ready to rinse out. Then somebody asks the question that should've been settled before the pour started.
Where's the washout going?
That's the moment when a routine concrete day turns into a mess, a delay, or a compliance problem. Good custom container solutions fix that before the first yard shows up. For concrete washout, the right container isn't just a box you rent. It's part capacity plan, part site logistics decision, and part risk control.
Contractors who handle this well usually do three things right. They size the container to the pour, place it where the trucks can use it, and keep the paperwork and site practices clean enough that an inspector doesn't find easy targets. The crews that get burned usually miss one of those three.
Sizing Your Solution From Pours to Pans
The most common mistake with washout planning is treating it like an afterthought. Someone assumes one pan will be fine, then the pour runs long, an extra truck gets added, the pump needs cleanup, and now slurry is creeping toward travel paths or drainage.
That's why sizing has to start with requirements analysis. The process begins by assessing load capacity needs, which can range up to 18 to 20 tons for a large 72'x72'x24' unit holding approximately 441 gallons, and tools like the PO Container Estimation models help match the solution to the project scale, according to the U.S. Department of Transportation PO Container Estimation Tool documentation.
Start with the washout sources
Don't size from the container backward. Size from the activity forward.
On a concrete site, washout volume usually comes from a few predictable sources:
- Ready-mix trucks: Chute rinse-out and leftover residue from each delivery
- Pump equipment: Hopper, lines, and cleanup water after pumping wraps
- Crew tools: Wheelbarrows, rakes, screeds, floats, buckets, and small gear
- Weather exposure: Rainwater entering an open container and reducing usable capacity
If you miss even one of these, your estimate gets soft fast. A pan that looks oversized in the morning can be tight by late afternoon.
Use a field formula, not a guess
You don't need fancy math on the tailgate. You need a repeatable way to think.
A practical method is:
- Count the expected mixer trucks.
- Add pump cleanup if a pump is on site.
- Add a buffer for hand tools and crew rinse-off.
- Add weather and schedule contingency if the container will sit through rain or multiple workdays.
That formula won't give you a perfect gallon number every time, but it forces you to plan around actual site behavior instead of hope.
Practical rule: Size for the pour you're actually running, not the pour shown on the cleanest version of the schedule.
Match the pan to the pour rhythm
A smaller container can work on a controlled, short-duration pour where trucks are spaced cleanly and washout is supervised. It usually stops working when the site is busy, the pump is involved, or multiple trades start using the same containment area because nobody set boundaries.
A larger pan makes sense when:
- Truck count may change: Dispatch adds loads or sequencing shifts
- The pump is critical: Pump cleanup adds more slurry and timing pressure
- Access is rough: You don't want mid-pour swap headaches
- Pickup timing is uncertain: The container may need to stay on site longer than planned
The point of custom container solutions isn't just capacity on paper. It's giving the crew enough room to work without forcing bad behavior when the day gets messy.
Don't ignore weight
Concrete washout isn't light. Wet slurry behaves differently than dry demo debris, and that matters when you're choosing equipment. A container that looks half full can still be carrying serious weight.
That's one reason the DOT documentation's load reference matters. If a larger unit is tied to 18 to 20 tons and about 441 gallons in that documented example, you can see why careless sizing causes trouble fast. Capacity is never just about volume. It's volume plus material weight plus how the site will use the unit.
Choosing the Right Container Specs for Your Job
After determining the approximate volume of washout required for containment, you must decide which container can handle the task without causing further issues. Many crews struggle at this stage due to a reliance on generic rental mindsets.
A washout container isn't interchangeable with a general debris box. Wet concrete residue is harder on equipment, harder on cleanup, and less forgiving when the wrong spec shows up.
Depth changes how the site works
A shallow pan is easier for direct chute access and easier for crews using hand tools or wheelbarrows. A deeper unit gives you more reserve capacity, but only if trucks can use it cleanly and the site layout supports it.
For contractor planning, common options often include a 72' x 72' x 14' washout pan and a 72' x 72' x 24' version. The deeper size is associated in the publisher brief with roughly 441 gallons, while the shallower version is associated with about 310 gallons. Those dimensions matter less as abstract specs and more as operating conditions.
Choose the shallower profile when access and ease of use matter most. Choose the deeper profile when containment margin matters more than low-side access.
Load rating isn't a paperwork detail
Think of load rating like axle capacity on a truck. You may not stare at the number all day, but if you exceed it, the problem gets expensive.
With washout, that matters because wet material loads differently than dry trash. Slurry settles. Residue hardens. Rain adds weight and steals freeboard. A crew looking at surface height can think there's room left when the container is already carrying more than it should.
A sound spec review should include:
- Material construction: Heavy-duty steel holds up better under repeated concrete exposure and rough handling
- Containment approach: Reinforced liners or integrated containment features help reduce leakage risk
- Access style: Low sidewalls, open tops, or configurations that make chute rinse-out cleaner
- Ground conditions: Rough sites punish weak floors and unsupported placement
If the pan is hard to use, crews won't use it correctly for long.
Features that pay for themselves
Some upgrades look optional until you've had one bad job.
A reinforced liner is one of them. If your site is wet, muddy, or prone to hard-to-control slurry movement, better containment is worth the cost because cleanup after a leak is always more painful than prevention. The same goes for durable steel construction. On paper, every container looks sturdy. On an active site with uneven ground, forklift traffic, and rushed cleanup, the weak one reveals itself quickly.
Ramp-style access or low-entry designs can also help when laborers are moving tools and residue by hand. That's not a luxury item on a cramped renovation site. It's what keeps the washout area from turning into a splash zone.
What doesn't work
The wrong spec usually fails in familiar ways:
- Too deep for the truck setup: Drivers struggle to rinse cleanly
- Too small for actual use: The pan becomes a temporary stop instead of full containment
- Too light for site abuse: Floors deform, edges get damaged, and serviceability drops
- No liner strategy: Slurry control gets messy and cleanup becomes inconsistent
The best custom container solutions fit the site's traffic pattern and the crew's habits. If the spec assumes perfect behavior, it's the wrong spec.
Mastering SWPPP Compliance and Permit Requirements
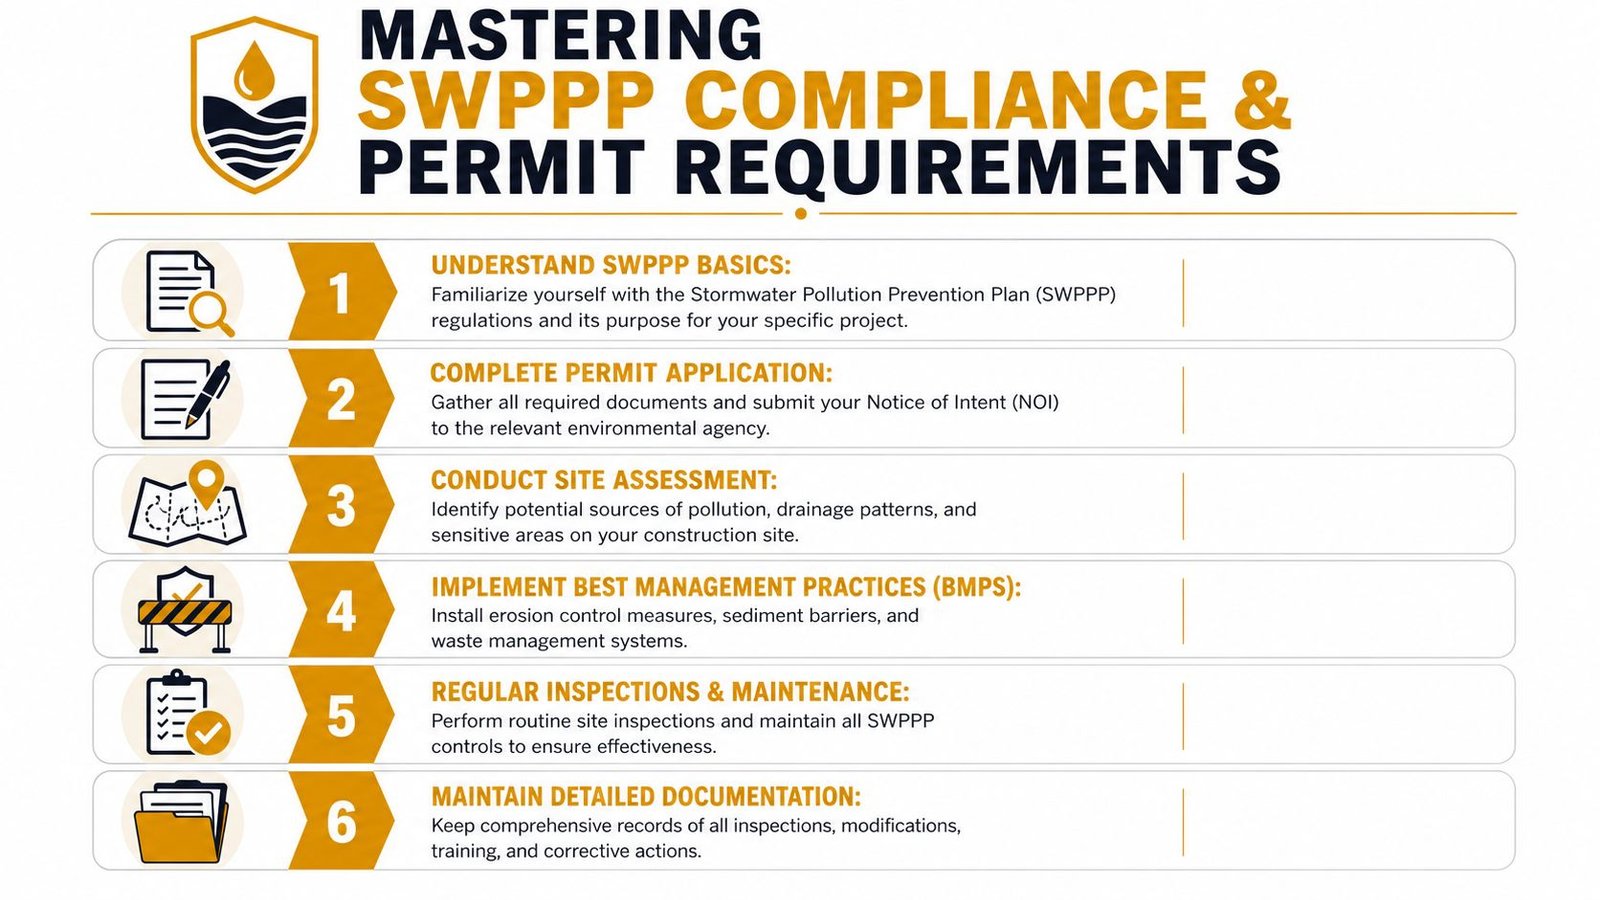
A lot of contractors still treat washout compliance like a box to check after the trailer meeting. That's backward. On concrete work, washout control sits right in the middle of stormwater compliance because slurry can move fast and create an obvious violation.
Construction sites face strict EPA and local SWPPP requirements under the Clean Water Act. The same verified data states that non-compliance fines average $37,500 per day per violation, and there has been a 28% rise in enforcement actions in the past year, making a compliant, pre-certified rental solution a critical business decision, as summarized in this concrete washout compliance reference.
Why inspectors care about concrete washout
Concrete slurry isn't harmless rinse water. It's alkaline material that can damage receiving areas if it escapes containment. That's why SWPPP controls around washout need to be deliberate, visible, and maintained.
If your site has a storm drain downhill from the washout area, muddy track-out around the pan, or evidence that crews are rinsing outside the container, you've handed an inspector a simple narrative. They won't need much imagination to see the risk.
The compliance checklist that matters on site
The paperwork matters, but field conditions matter more. A compliant setup usually comes down to whether the site team can show control, consistency, and documentation.
Use this checklist before the first rinse-out:
- Placement away from stormwater pathways: Keep the container clear of drains, inlets, and obvious runoff routes.
- Defined washout area: Mark it so drivers and laborers know exactly where washout is allowed.
- Container condition verified: Check for damage, poor sealing, or anything that could compromise containment.
- Crew instruction given: Make sure pump operators, truck drivers, and finish crews all know the process.
- Inspection log available: Keep records current enough that an inspector sees management, not improvisation.
- Pickup or swap plan set: Don't let a full pan become tomorrow's problem.
Permits and approvals stall when details are vague
A lot of permit trouble starts because the site team hasn't thought through how the washout container fits the SWPPP in real life. They know they need one, but they can't explain where it sits, how runoff is controlled, or what happens when it fills.
That weakens your position with owners, consultants, and inspectors. It also creates friction inside the job because the superintendent, concrete foreman, and environmental contact may all be working from different assumptions.
Professional sites don't just have a washout plan. They can point to it, document it, and defend it.
What good crews do differently
They don't wait for an inspector to tell them what's missing. They walk the route water would take if the container overflowed. They look at access from the driver's side, not just the trailer window. They ask whether the container location still works after rebar, formwork, or excavation changes the site layout.
That's where custom container solutions earn their keep. A good setup doesn't just hold material. It supports compliance by making the right behavior easier than the wrong behavior.
Planning Seamless Delivery and Site Placement
A good delivery feels boring. That's what you want. The truck arrives, the driver has clear instructions, the set goes where it was supposed to go, and nobody has to rework the spot with a machine after the fact.
A bad delivery burns time before the container even touches the ground. The driver shows up to soft subgrade, overhead conflicts, or a space that looked fine in a phone call but won't work with the actual approach path.
The call that prevents most delivery problems
When you order, speak like a superintendent, not like a shopper. The rental company needs operating facts.
Tell them about:
- Access width: Gates, fencing, parked equipment, and traffic chokepoints
- Ground condition: Mud, stone, uneven grades, or fresh subgrade
- Overhead hazards: Power lines, tree limbs, scaffold, or temporary lighting
- Traffic flow: Where concrete trucks queue and how they'll reach the washout area
- Placement restrictions: Keep-clear zones, public access concerns, or owner rules
If you leave those details out, the driver is forced to solve your site puzzle from the cab. That rarely ends well.

What a good placement looks like
The best spot usually checks four boxes. Trucks can reach it. Crews can supervise it. It sits on stable ground. It doesn't create a runoff or traffic conflict.
That means the perfect location is often not the nearest empty patch of dirt. It's the place that balances access and control.
A solid placement review asks:
- Can a concrete truck rinse into it without awkward backing or blind maneuvering?
- Will rainwater or site wash flow toward it or away from it?
- Is the ground firm enough that the container will stay level?
- Will other trades start using the area as a shortcut, storage zone, or dump spot?
The difference between a good and bad setup
On a good job, the washout pan is set before the pour starts, the foreman walks the driver to the location, and everyone on the concrete side knows that's the only approved washout point. Cleanup stays contained. The site stays organized.
On a bad job, the pan gets dropped where it was easiest for the delivery truck, not where it works for the pour. Trucks wash out beside it instead of into it because the angle is wrong. Then laborers spend the afternoon scraping hardened residue off the ground.
Bad placement turns a compliant product into a noncompliant operation.
Calculating the True Cost of a Washout Container Rental
A lot of contractors still budget washout by looking at the daily rental rate and calling it done. That number matters, but it's only the front edge of the invoice.
Actual costs stem from how the rental interacts with delivery conditions, project timing, pickup coordination, and avoidable mistakes. If you don't price those in early, your estimate looks tight on bid day and sloppy by closeout.
The daily rate is only one line item
The publisher brief notes clear, upfront daily pricing starting at $25/day for washout rentals. That's useful because it gives you a visible base cost. It does not mean every job will invoice at the daily rate alone.
Most container rentals can involve additional costs tied to:
- Delivery
- Pickup
- Rough terrain conditions
- Express orders
- Hauling or disposal-related handling
- Extra time on site if the schedule slips
Those line items aren't tricks. They're usually the result of field conditions that the estimator didn't capture.
Use a cost checklist before you place the order
If you're building a project budget, force yourself to fill in every row before the pour starts. A simple worksheet catches more misses than a verbal assumption.
| Cost Item | Example Price Range | Your Project Estimate |
|---|---|---|
| Base rental fee | Starting at $25/day | |
| Delivery charge | Varies by location and access | |
| Pickup charge | Varies by location and timing | |
| Rough terrain surcharge | May apply based on site conditions | |
| Express order surcharge | May apply for urgent scheduling | |
| Extended rental time | Depends on actual project duration | |
| Hauling or disposal-related costs | Varies by service scope | |
| Cleanup from misuse or overflow | Depends on site conditions |
Where budgets usually go sideways
The first miss is underestimating duration. A pan ordered for one pour often stays longer because punch work, weather, or sequencing changes the timeline. The second miss is poor site communication. If the delivery team encounters rough access or an unworkable drop zone, the cost of that confusion lands somewhere.
The third miss is treating compliance as separate from cost. It isn't. If the washout setup fails, you're not just paying more for cleanup. You're exposing the job to a much bigger downstream problem.
That's why the compliance penalty matters in financial planning. Earlier, the verified data established that non-compliance fines average $37,500 per day per violation. You don't need complicated math to see the point. A properly planned rental is a cost item. A failed washout plan can become a job-level event.
Cheap and expensive are not the same as low-cost and high-cost
The cheapest option on paper can be the expensive option in the field if it's undersized, delayed, or placed badly. The higher daily rate can be the lower total cost if the container arrives on time, fits the job, and avoids disruption.
That's the right way to think about custom container solutions. You're not buying steel by the day. You're buying clean containment, smoother operations, and fewer surprises in the logbook.
Budget the washout container like a risk control, not like a disposable accessory.
On-Site Best Practices for Clean and Compliant Washout
Once the container is down, the job shifts from planning to discipline. Most washout failures on active sites don't come from a missing container. They come from crews using the right equipment the wrong way.
Set a few clear operating rules and enforce them every pour day.
The habits that keep the area under control
- Direct every rinse into the approved container: Don't allow “quick” side washouts on dirt or rock because the pan looks busy.
- Watch fill level early: Don't wait until the end of the day to discover the container has no safe remaining capacity.
- Keep splash contained: Position trucks and crews so runoff stays inside the washout zone, not around it.
- Protect the area during rain: If weather changes conditions, check for overflow risk and keep runoff pathways clear.
- Call for swap or pickup before it becomes urgent: Waiting until the pan is effectively full backs the next pour into a corner.
What the crew should never do
Don't let other trades use the washout container as a mixed dump box. Don't let laborers chip hardened material around the pan without controlling where that residue goes. Don't assume yesterday's placement still works after site traffic, excavation, or temporary utilities change the area.
The cleanest sites usually have one thing in common. Somebody owns the washout plan. Not in theory. In practice.
Good washout management protects schedule, site appearance, and compliance at the same time. That's why custom container solutions matter on concrete work. When the sizing is right, the spec fits the job, the placement makes sense, and the crew follows the rules, the washout process stops being a recurring headache and starts looking like what it should be: standard professional practice.
If you need a washout rental partner that understands contractor realities, Reborn Rentals offers specialized concrete washout containment with straightforward ordering, clear daily pricing starting at $25/day, and practical support for delivery, scheduling, and site logistics. For teams that want fewer surprises and a cleaner path from pour day to pickup, it's a solid place to start.