
10 Best Management Practices Stormwater
A concrete pour is scheduled for this morning. The washout area is somewhere behind the material stack, the haul road is already muddy, and a storm drain sits downhill from the work zone. At the same time, sediment is leaving exposed soil, concrete wash water is collecting near the slab, vehicles are tracking soil onto the public road, and fuel, coatings, or other materials are stored where rain can reach them. Each pathway needs a different response.
Effective best management practices stormwater protection combines structural BMPs with non-structural controls. Containment systems, filters, stabilized entrances, and inlet protection handle physical flows, while planning, crew training, housekeeping, inspections, maintenance, and documentation keep those controls working through changing project phases.
The following practices follow a construction-site pollution-control workflow. First, plan the controls and contain concentrated concrete waste. Then slow and filter runoff, protect drains and roads, manage materials and spills, direct crews to designated washout areas, inspect the site, and dispose of captured pollutants correctly. The right combination depends on the pollutant source, drainage pattern, site layout, project phase, and the team's capacity to maintain and verify each control.
1. Concrete Washout Containment Systems
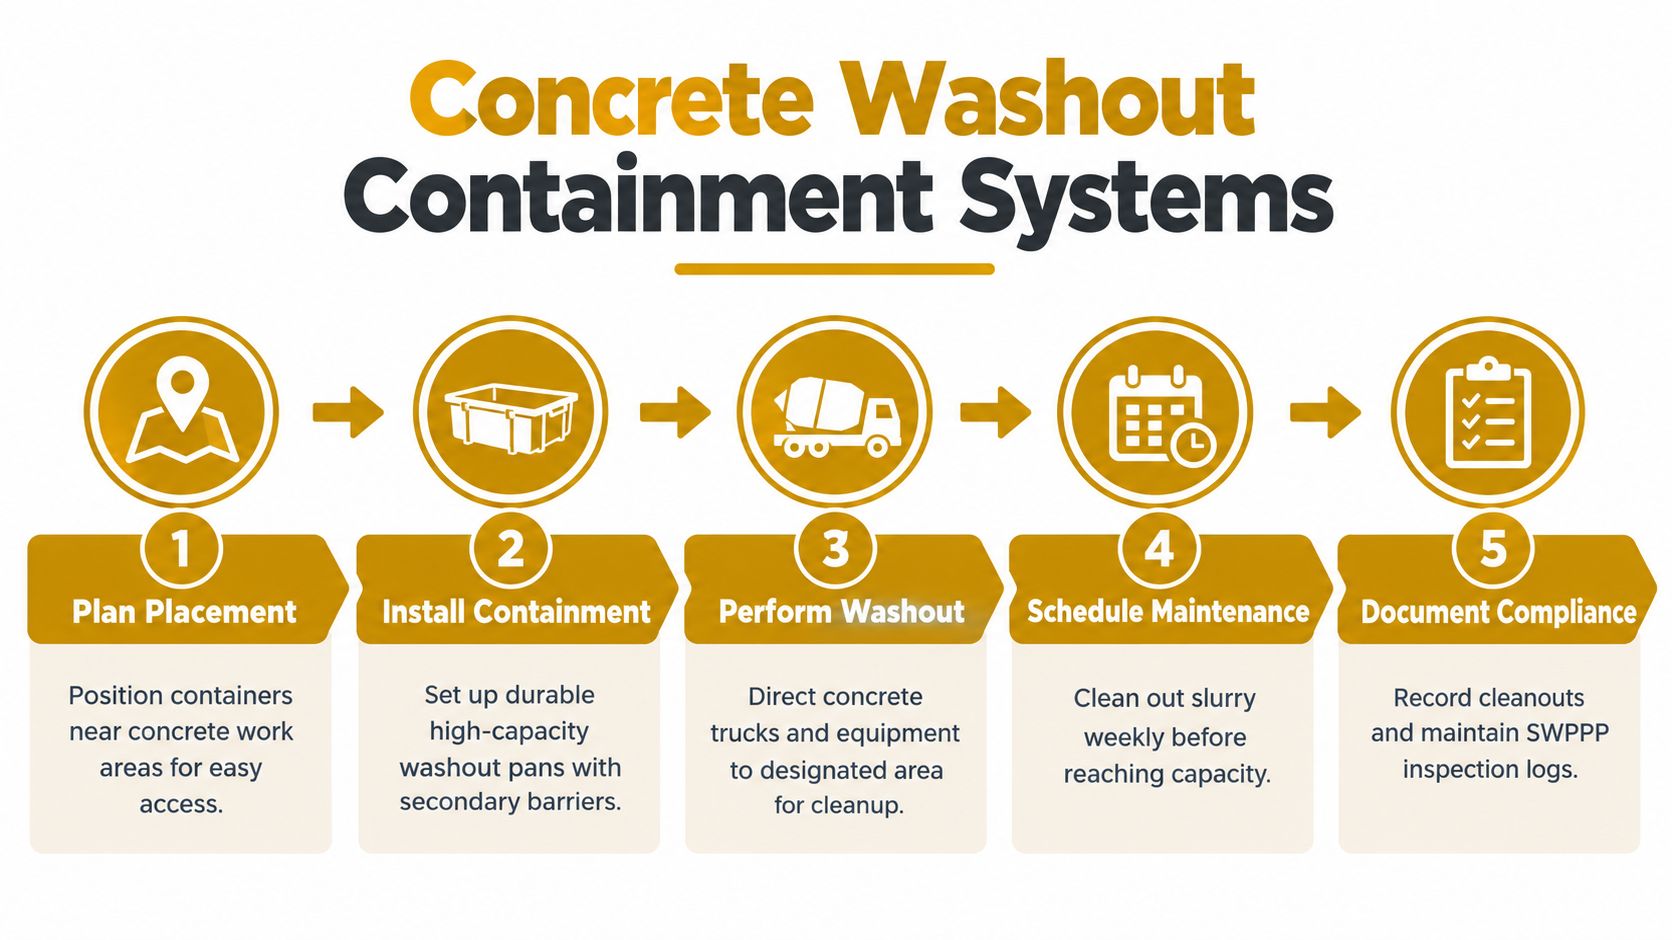
Concrete slurry and wash water should have one clearly defined destination before the first truck arrives. A dedicated washout pan, container, or engineered containment structure keeps rinsing water and cement-rich sediment from spreading across the site, soaking into soil, or flowing toward a storm drain.
Place the system close enough to the pour area that crews will use it, but far enough from drains, waterways, steep slopes, and active traffic lanes to reduce secondary risks. On an urban commercial build, that might mean locating the pan beside the concrete access route rather than at the far edge of the parcel. On a bridge or highway project, several work zones may need coordinated containment because one remote station won't serve every pour.
Make the washout point obvious
Label the station with direct instructions, brief the concrete crew before work starts, and confirm that truck drivers, pump operators, and finishers know where tools and chutes must be washed. Inspect the pan or container for damage before deployment and after relocation. A cracked liner or unstable base can turn a compliant-looking station into a discharge point.
Practical rule: If a worker has to ask where washout belongs, the site hasn't finished setting up its control system.
Track fill level and arrange cleanout before capacity is reached. Keep cleanout records with the project's stormwater documentation, including the date, condition of the container, and destination of removed material. Concrete washout is a primary control for a concentrated pollutant source, not a substitute for overall runoff management.
2. Sediment and Erosion Control Plans
A site plan should show where water comes from, where it travels, what it can pick up, and which control intercepts it. The sediment and erosion control plan, often integrated with a Stormwater Pollution Prevention Plan, turns that drainage understanding into assigned locations, installation details, inspection duties, and response procedures.
The plan needs to reflect actual site conditions rather than just reproduce a standard detail sheet. A municipal road project, a brownfield redevelopment, and a multistory building site can have very different slopes, access routes, utilities, stockpiles, and discharge points. Walk the site before mobilization and mark storm drains, low points, receiving waters, concrete work areas, fueling locations, soil stockpiles, and public-road connections.
Treat the plan as an operating document
Update the plan when grading changes, drainage is rerouted, a new subcontractor begins work, a control is relocated, or a construction phase creates a new pollutant source. Put the washout location and operating rules on the site plan, then use the plan during crew orientation and toolbox talks.
The regulatory history explains why this documentation matters. The U.S. EPA's Phase I stormwater rule, finalized on November 16, 1990, brought stormwater discharges from large MS4s, certain industrial facilities, and qualifying construction sites into a national permitting framework. EPA documentation cited coverage for about 123,000 industrial facilities and 220 municipalities and counties under the Phase I rules, establishing BMPs as formal tools rather than optional housekeeping advice. EPA's historical stormwater BMP documentation provides that regulatory context.
Assign named responsibilities. A plan that says “inspect controls” without identifying who checks them, when they check them, and how failures are corrected is incomplete in practice.
3. Sediment Filters and Filter Socks
Filter socks work best as downgradient, distributed controls. Filled with coir, recycled textile, or another approved filter material, they slow shallow runoff and encourage sediment to settle before water leaves an active work area. They can protect the edge of a parking-lot excavation, separate an equipment staging zone from a drainage path, or reinforce a perimeter below a soil stockpile.
They aren't a complete erosion-control strategy. A sock placed across a fast, concentrated channel may wash out, overtop, or divert water toward an unintended location. Use them with stabilized soil, diversion measures, inlet protection, or other controls that address the source and flow energy.
Match the barrier to the flow
Install the socks before ground disturbance begins, with ends secured and overlaps arranged so water can't bypass the barrier. Keep them on the contour where possible, and avoid placing them where heavy equipment will crush or displace them. A filter sock below a haul route needs a different installation detail from one protecting a small perimeter around stored material.
Inspect after rainfall and whenever crews observe ponding, bypassing, undercutting, or visible sediment movement. Remove accumulated sediment when it reduces capacity, and replace clogged, torn, or displaced sections promptly.
Field monitoring supports a layered approach. Research summarized in a peer-reviewed study found that no single BMP removes every pollutant, while infiltration and media-based practices such as bioretention and permeable pavement generally perform well for suspended solids and particle-bound pollutants. The stormwater BMP research review also draws on long-term monitoring data from hundreds of monitored control measure installations across the United States and Canada.
4. Storm Drain Inlet Sediment Filters and Grates
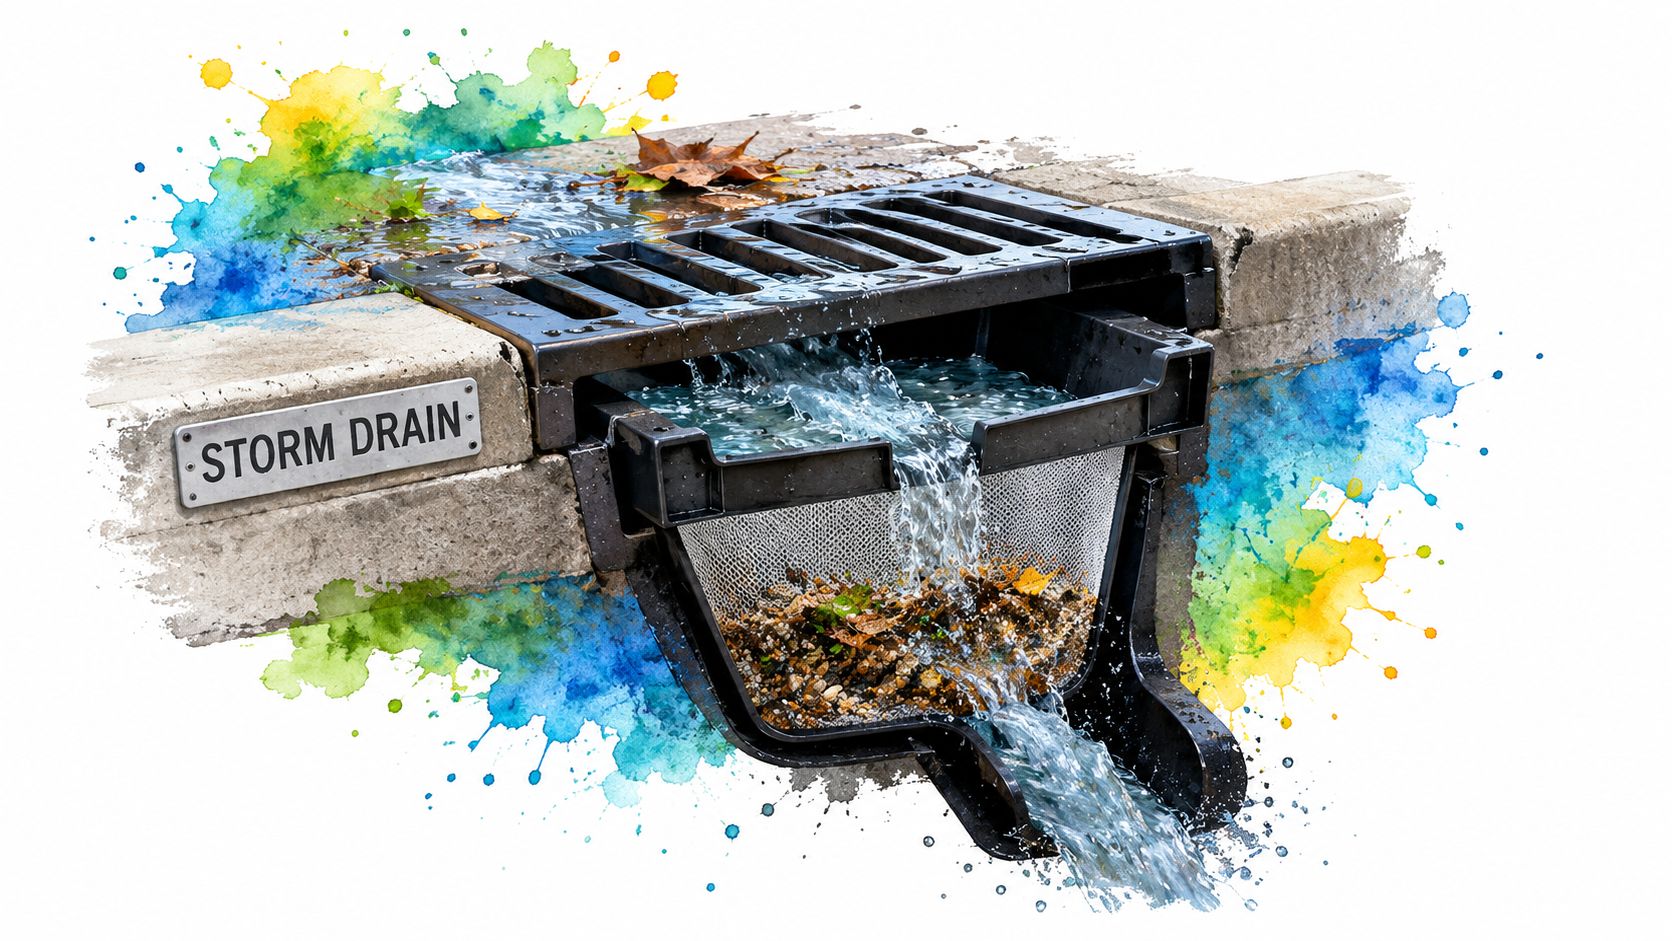
A storm drain inlet is a direct connection to a municipal drainage system, so protect it before nearby excavation, demolition, concrete placement, or material handling begins. Inlet inserts, grate covers, sediment filters, and absorbent cartridges can intercept sediment and debris at the point where runoff would otherwise enter the pipe network.
Start with a drain map. Include inlets inside the work area, along the public frontage, near access points, and downhill from storage or fueling. Ask the local stormwater utility to confirm locations when plans are incomplete, especially on urban infill projects where old or concealed inlets may not appear clearly on current drawings.
Avoid creating a flooding problem
An inlet filter that captures sediment but blocks too quickly can cause ponding, bypass, unsafe vehicle conditions, or flooding onto neighboring property. Select the device for the expected flow, keep emergency overflow routes in mind, and inspect it after rainfall and active sediment-generating work.
Don't use inlet protection as permission to leave exposed soil unmanaged. It protects the drainage opening, but it doesn't stop sediment from leaving the site, coating roads, filling adjacent channels, or overwhelming the filter. Pair it with perimeter barriers, stabilized access, good stockpile management, and prompt stabilization of completed areas.
When captured sediment is removed, handle it as collected site waste. Don't sweep it into the next inlet or wash it into the street. Record installation, inspection, replacement, and removal so the project team can demonstrate what happened when conditions changed.
5. Stabilized Construction Entrances and Exits
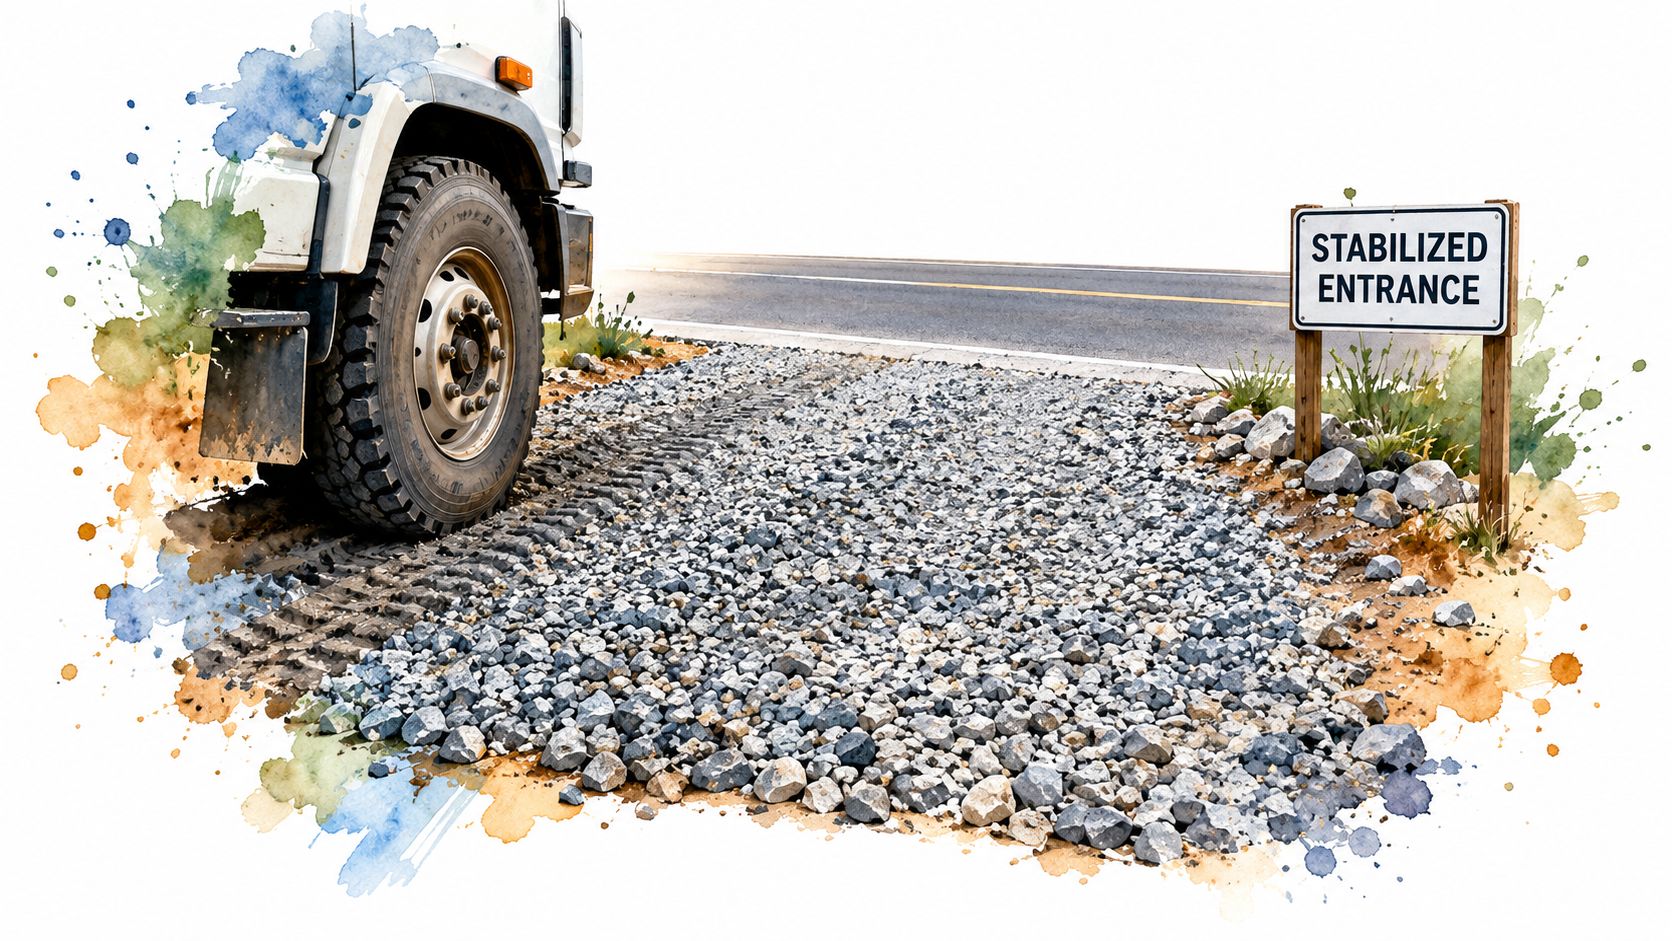
Mud tracking is often the most visible sign that a site's stormwater controls are failing. A stabilized entrance creates a defined route where aggregate or another suitable surface removes loose soil from tires before vehicles reach public roads. It also gives supervisors one access point to inspect, clean, and correct instead of chasing tracked sediment across the entire frontage.
Choose the location early, before deliveries begin. Keep the route away from steep grades and direct drainage paths, and make it wide enough for the largest expected vehicles to pass without driving around the control. A commercial development may need a separate route for delivery trucks and employee vehicles. A downtown retrofit may have little room, which makes street sweeping, traffic control, and delivery scheduling especially important.
Maintain the route, not just the sign
Install the aggregate before mobilization, then replenish or regrade it when soil fills the voids or vehicles create ruts. Sweep public pavement outside the entrance when tracking appears. Don't wait for rain to move the material into a curb inlet.
Direct every truck through the stabilized entrance with signs and site rules. If traffic is heavy or soil is particularly sticky, add a tire-wash or wheel-cleaning process, but manage the resulting water as a pollutant source. Sending dirty wash water toward the road just replaces one pathway with another.
Include entrance condition in routine inspection records. Note rutting, sediment accumulation, bypassing, street tracking, and corrective action. The entrance is effective only when drivers use it and the site keeps it functional.
6. Spill Prevention and Control Measures
Fuel, hydraulic fluid, oils, coatings, and solvents need controls that are different from sediment barriers. A filter sock may slow muddy water, but it won't reliably contain a petroleum release or a solvent spill. Establish fueling, maintenance, and material-handling zones away from drains and washout areas, and keep spill kits where operators can reach them without crossing the site.
Use drip pans beneath stationary equipment and during fueling or maintenance. Store bulk liquids inside suitable secondary containment, protect containers from vehicle strikes, and keep lids, valves, and hoses closed when not in use. A concrete pump staging area, generator zone, or equipment yard should have a clear response path and an assigned person who knows what to do when a leak occurs.
A spill kit that sits locked in an office isn't a response measure. It needs to be visible, stocked, and close to the equipment that creates the risk.
Build the response into training
Show crews how to stop the source when it's safe, protect nearby drains, place absorbents, collect contaminated materials, and notify the responsible supervisor. Don't hose a spill toward the street or bury contaminated soil under clean aggregate. Escalate reportable releases to the applicable environmental authority and follow the project's emergency procedures.
Document the spill, even when the quantity appears small. The record should identify the substance, location, source, response materials, collected waste, and any required notifications. Review recurring drips as equipment or housekeeping problems, not as unavoidable site conditions.
7. Material Storage and Management BMPs
Materials become stormwater pollutants when rain, wind, traffic, or poor handling moves them out of their intended storage area. Cover aggregate and sand piles when weather or site conditions require it, secure lightweight materials, and keep cementitious products, paints, solvents, and other liquids in protected locations with appropriate containment.
Create a storage map that shows laydown yards, liquid-material areas, hazardous-material zones, stockpiles, and nearby drains. Keep those areas out of concentrated flow paths and away from waterways. On a phased development, review the map whenever the active building footprint or access route changes.
Reduce exposure and handling
Coordinate deliveries so materials aren't stored on site longer than necessary. Clear labeling helps crews separate incompatible products and identify damaged containers quickly. Keep lids closed, inspect pallets and drums for leaks, and remove damaged packaging before rain reaches it.
For stockpiles, combine physical protection with drainage control. A cover alone can shed water around the pile and create a new sediment plume if the surrounding ground isn't stabilized. Use perimeter controls where appropriate, maintain a clean buffer, and inspect the downgradient side after rainfall.
Material management also limits concrete-related contamination. Keep cement bags, admixtures, curing compounds, and washout supplies away from the washout pan itself, while ensuring the crew can access the correct materials without improvising a wash area. Record storage locations in the site plan and make changes part of the same communication process used for other BMPs.
8. Concrete Washout Area Designation and Signage
A washout container only works when crews can find it and understand its limits. Designate a visible, dedicated area for truck chutes, pumps, tools, and equipment rinsing. Mark the location on the site plan, identify it in daily briefings, and use durable signs that remain legible through dust, rain, relocation, and repeated handling.
Place the station near concrete operations and equipment parking, but don't sacrifice drainage safety for convenience. On a tight urban site, the best location may change as excavation, structure, and paving phases progress. Relocate the station deliberately, update the map, and close the old area so workers don't continue using it out of habit.
Sign for the people doing the work
Use direct wording and illustrations where useful. Include instructions for truck drivers, pump operators, finishers, and subcontractors who may arrive without attending the general contractor's morning briefing. Multilingual signage can reduce ambiguity when the workforce includes people who don't share the same first language.
A sign can't compensate for insufficient containment. Confirm that the system can receive the expected slurry and rinse water, that access is stable, and that cleanout arrangements are in place. Keep unauthorized dumping, random rinsing, and overflow pathways out of the operating area.
Photograph the station after installation and whenever it moves. Pair the photograph with the plan location, responsible supervisor, inspection notes, and cleanout record. That evidence helps the team verify that the control remained available during each concrete phase.
9. Inspection, Maintenance, and Documentation Protocols
BMPs deteriorate through ordinary work. Filters clog, inlet protection fills, aggregate entrances rut, washout pans approach capacity, signs disappear, and storage areas shift. An inspection program catches those failures before the next runoff event turns them into a discharge.
Assign responsibility to named personnel and use a consistent field form. The inspector should check whether each control is present, correctly positioned, accessible, intact, clean enough to function, and suitable for current site conditions. They should also look for evidence that a control is being bypassed, such as tire tracks around a barrier or rinse water outside the designated washout.
Inspect against triggers and changing conditions
Follow the inspection frequency and rainfall or event triggers in the applicable permit and SWPPP. Add extra checks after major grading, concrete pours, equipment moves, intense weather, or complaints. A fixed schedule can help crews remember their duties, but it shouldn't replace event-based inspections.
Use photographs to show fill levels, damaged controls, sediment accumulation, and corrected conditions. Record the person who inspected, the date, the finding, the action assigned, and the date of completion. Mobile forms can make this practical when the supervisor is moving between work zones.
Deployment is usually slower than project teams expect. One watershed study reported 14 BMPs per 1,000 housing units while another reported 4 per 1,000, with modeled adoption averaging 5 new BMPs per 1,000 housing units per year. The watershed BMP adoption study shows why local conditions, staffing, and socioeconomic context matter when teams plan implementation and maintenance capacity.
10. Sediment Removal, Dewatering, and Disposal Procedures
Captured pollutants still need a controlled destination. Sediment removed from a filter, inlet, entrance, or excavation can return to the drainage system if workers pile it beside a curb or load it during rain. Concrete slurry from a washout pan needs separate handling from ordinary soil when its composition, moisture, or disposal route requires it.
Schedule cleanout before containment reaches its working limit. Use suitable equipment and trained personnel to remove solids without puncturing liners or spilling material. Where dewatering is appropriate, separate solids from liquids with an approved method, and discharge or dispose of the liquid only under the project's permit and site procedures.
Keep waste streams identifiable
Segregate concrete slurry, clean excavated soil, sediment, absorbents, and potentially hazardous material. That makes recycling or reuse possible where allowed and prevents a contaminated load from being misclassified. Use qualified disposal contractors when the waste profile or local rules require them.
Time dewatering and cleanout for stable weather when possible. Protect the work area from rainfall, secure containers during transport, and inspect the route between the source and the collection vehicle. Keep receipts, manifests, load descriptions, and disposal records with the stormwater file.
The disposal stage is also a verification point. If a pan fills rapidly, a filter clogs repeatedly, or sediment arrives contaminated with concrete or fuel, revise the upstream control rather than accepting the waste volume as normal. For construction sites, accountability increasingly extends beyond installation. Chesapeake Bay workgroup materials describe an EPA effort exploring remote sensing for BMP tracking and verification, while recent Seattle updates have emphasized infiltration feasibility, construction flow control, and source-control details. The Chesapeake Bay workgroup meeting materials illustrate the broader shift toward proving that controls work under real conditions.
Top 10 Stormwater BMPs Comparison
| Item | Implementation complexity | Resource requirements | Expected outcomes | Ideal use cases | Key advantages |
|---|---|---|---|---|---|
| Concrete Washout Containment Systems | Moderate, site prep and secondary containment | Moderate–high: units, space, regular cleanout, disposal logistics | Prevents slurry discharge; meets SWPPP inspections | Daily concrete operations, pump trucks, urban sites | Direct primary containment; portable rentals; inspector-friendly |
| Sediment and Erosion Control (SEC) Plans | High, site-specific design and ongoing updates | High: consultant time, documentation, training, monitoring | Holistic pollution prevention; regulatory compliance | Large/complex projects, federally regulated sites, DOT work | Coordinated BMPs; proactive compliance; reduces fines |
| Sediment Filters and Filter Socks | Low, simple staking and placement | Low: affordable materials, periodic inspection/replacement | Traps runoff sediment; first-line perimeter control | Perimeter protection, staging areas, small-to-medium sites | Cost-effective, quick install, biodegradable options |
| Storm Drain Inlet Sediment Filters and Grates | Low, quick deploy at inlets | Low–medium: multiple units, frequent checks | Protects municipal storm system; prevents illegal discharges | Urban/road projects, parking lots, work near drains | Direct drain protection; low cost per inlet; easy install |
| Stabilized Construction Entrances and Exits | Moderate, layout, stone placement, drainage design | Medium: stone aggregate, space, maintenance/replenishment | Reduces off-site tracking; protects public roads/drains | High-traffic sites, large developments, haul routes | Visible BMP; lowers road cleanup liability; improves appearance |
| Spill Prevention and Control Measures | Moderate, protocols, designated zones, training | Medium: secondary containment, spill kits, training | Prevents high-impact contaminant releases; reduces liability | Fueling areas, equipment staging, chemical storage zones | Mitigates hazardous spills; protects groundwater and water bodies |
| Material Storage and Management BMPs | Moderate, designated areas, covers, segregation | Medium: covers/tarps, containment, inventory controls | Prevents multiple pollutant pathways; protects materials | Aggregate/chemical storage, laydown yards, long-term storage | Reduces contamination risk; improves organization and safety |
| Concrete Washout Area Designation and Signage | Low, designate location and post signage | Low: signage, marked containment, enforcement effort | Centralizes washout, improves crew compliance and inspections | Commercial sites, concrete pumping operations, multi-phase works | Directs crews to proper practice; simplifies compliance checks |
| Inspection, Maintenance, and Documentation Protocols | Moderate–high, schedules, forms, training | Medium–high: personnel time, mobile/forms, photo logs | Demonstrates compliance; detects BMP failures early | All SWPPP-regulated sites; large projects requiring audits | Provides evidence of due diligence; enables proactive maintenance |
| Sediment Removal, Dewatering, and Disposal Procedures | High, testing, dewatering, waste coordination | High: licensed haulers, disposal fees, time for dewatering | Proper final disposal; prevents secondary contamination | Sites with accumulated slurry/sediment from washouts | Completes pollution-prevention lifecycle; reduces disposal liability |
Turn BMPs Into a Managed Site Routine
No single BMP protects a construction site from every pollutant pathway. A washout pan contains concrete slurry, but it won't stop muddy tires from reaching the street. A storm drain filter protects the inlet, but it won't control a fuel leak upstream. A stabilized entrance limits tracking, but it won't manage runoff from an exposed excavation or wash water from concrete tools.
Start with a drainage and source map. Identify where runoff originates, where it concentrates, and what each work area can contribute. Mark concrete operations, disturbed soil, stockpiles, fueling and maintenance zones, material storage, drains, public roads, and receiving waters. Then choose a primary control for each source and a secondary control for the pathway below it.
For a concrete pour, the primary control may be a dedicated washout pan supported by clear signage and crew training. Downstream controls might include inlet protection and a sediment barrier, but those should protect against an unexpected release rather than serve as the normal washout destination. For a haul route, the primary control is a stabilized entrance and disciplined vehicle routing, supported by street sweeping and inspection.
Place and label every control before work begins. Confirm that workers can reach it without crossing unsafe areas or creating a shortcut. Include subcontractors in the briefing, and repeat the instructions when the site layout changes. A control that exists only on a plan sheet won't protect water.
Inspection should be tied to the project's SWPPP, permit, and applicable event triggers. Check controls after rainfall and after activities that can change flow, fill containment, disturb soil, or introduce new materials. When a control fails, assign the correction immediately, protect the discharge path, and document both the problem and the repair.
For teams arranging concrete containment, Reborn Rentals offers washout pans and containers intended to capture concrete wash water and slurry. Its checkout process runs through cart, details, and checkout, with daily pricing starting at $25, while delivery coordination can account for site access, rough terrain, and express requirements. Teams can confirm specifications, availability, delivery, and pickup through the company's available contact channels, including Messenger, WhatsApp, email, QR-based contact sharing, and scheduled callbacks.
The site routine should end with controlled cleanout and disposal. Record when filters are replaced, sediment is removed, washout material is hauled away, and contaminated waste is sent to the appropriate destination. Review those records with the project manager so repeated failures lead to better placement, capacity, training, or scheduling rather than repeated emergency repairs.
Finally, confirm project-specific requirements with the applicable SWPPP, permit, local stormwater authority, and environmental agency. Regulations and local manuals can change, and dense or paved sites may require a feasibility assessment before infiltration or other controls can be selected. The best BMP is the one that addresses the actual pollutant, can be built safely in the available space, remains maintainable during the project, and can be verified after installation.
Reborn Rentals provides concrete washout pans and containment equipment for construction and renovation projects, with daily pricing starting at $25 and delivery coordination for site-specific logistics. Visit Reborn Rentals to review available washout solutions, arrange deployment, and keep concrete slurry out of stormwater pathways.