
10 Best Practices for Environmental Cleaning in 2026
A ready-mix truck finishes its chute rinse at the curb, gray slurry starts creeping toward a storm inlet, and the inspector pulls up before the crew has even wrapped the pour. That kind of problem usually comes from missing containment or a setup that was too small for the day's work, not from bad intent. The best practices for environmental cleaning below give you a practical sequence to follow from pre-pour planning through closeout, so you can keep washout where it belongs and avoid turning one bad rinse into a site-wide issue.
1. Designate the Washout Area Before Mobilization
A washout area works best when it exists on the plan before the first truck arrives. Put the location on the SWPPP map, mark it in the field, and make sure every concrete subcontractor knows where it is before the first pour starts.
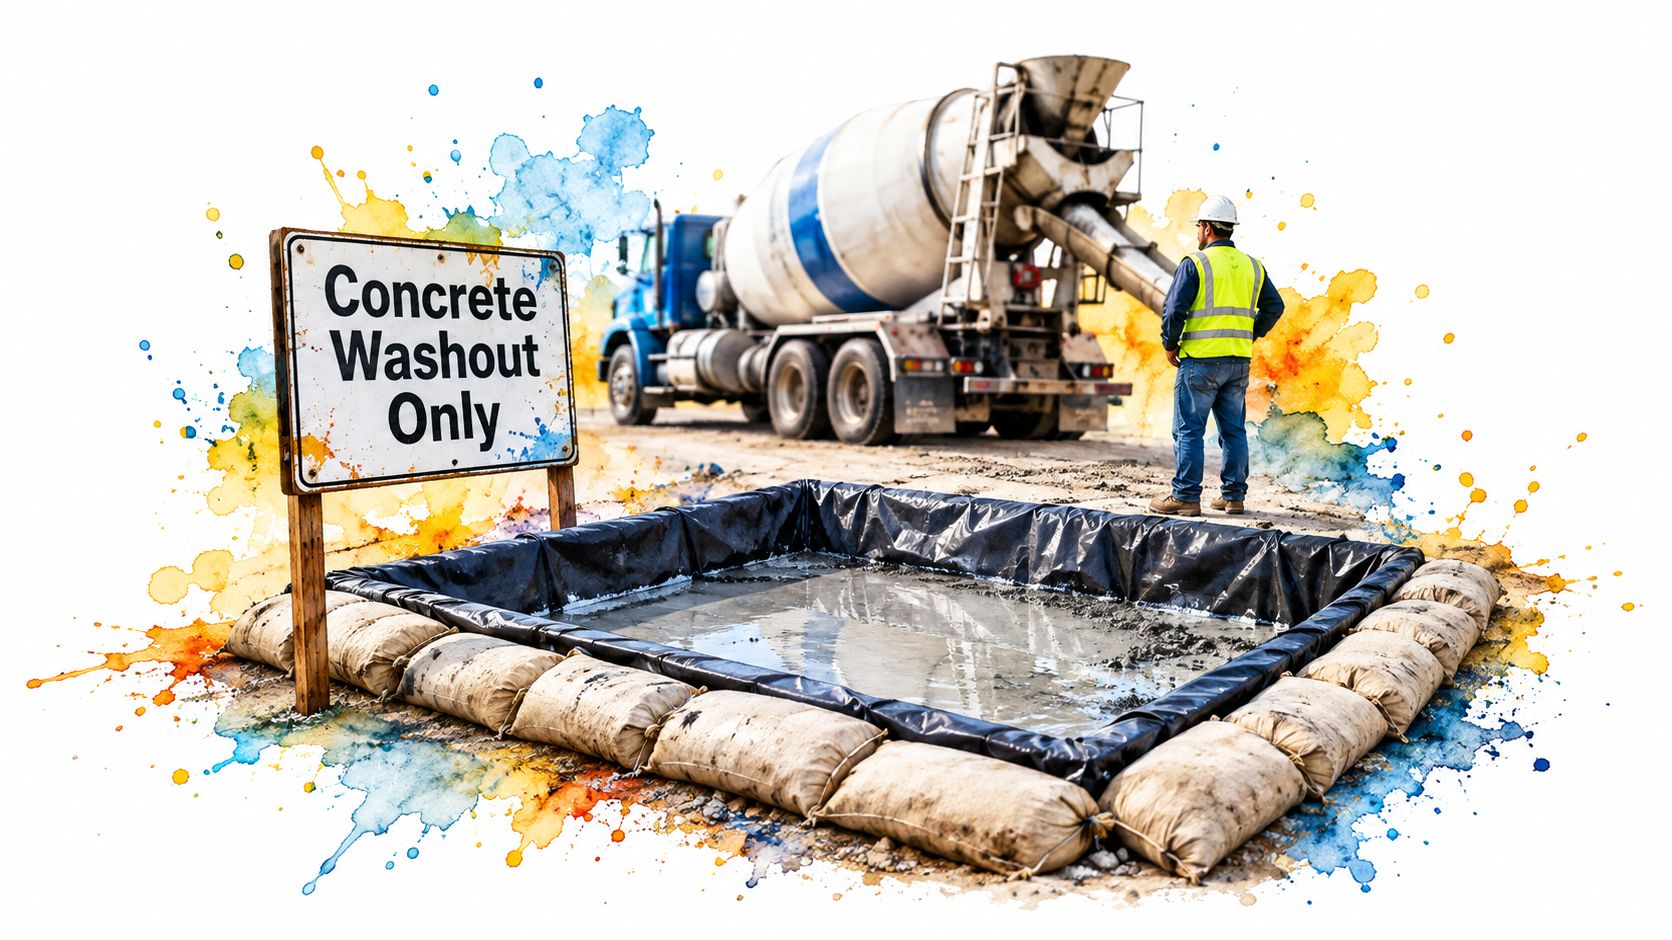
A designated washout area gives crews one place to rinse chutes, hoses, and tools, instead of spreading slurry across the job. That matters because EPA guidance says construction-site stormwater can collect sediment, debris, and chemicals and carry them to storm sewer systems or directly to rivers, lakes, and coastal waters, so the washout point has to be obvious and controlled from day one. The cleanest-looking site can still fail if the crew is guessing where washout is allowed.
Practical rule: If the washout location is not easy to find in the field, it is not really designated.
Keep access stabilized so trucks can reach the washout without tracking mud onto public roads. Post one sign at the site entrance and another at the washout itself. Then brief the concrete supplier, pump operator, and finisher before the first load shows up.
Make the access route part of the control
A washout area that's hard to reach gets skipped. That usually leads to curbside rinsing, drive-through spill tracking, or slurry dumped somewhere “temporary” that turns permanent.
- Mark the route clearly: Use signs, cones, or barriers so drivers can get in and out without confusion.
- Keep the route clean: If the access path gets muddy or cluttered, crews will improvise.
- Tie it to the pour sequence: When the workfront shifts, the washout location needs to move with it.
2. Size Capacity for the Largest Pour Day
Washout sizing should be based on the heaviest day, not the average day. That includes truck rinse water, pump cleanout, hand-tool cleaning, and any rain that falls into an open container before service happens.
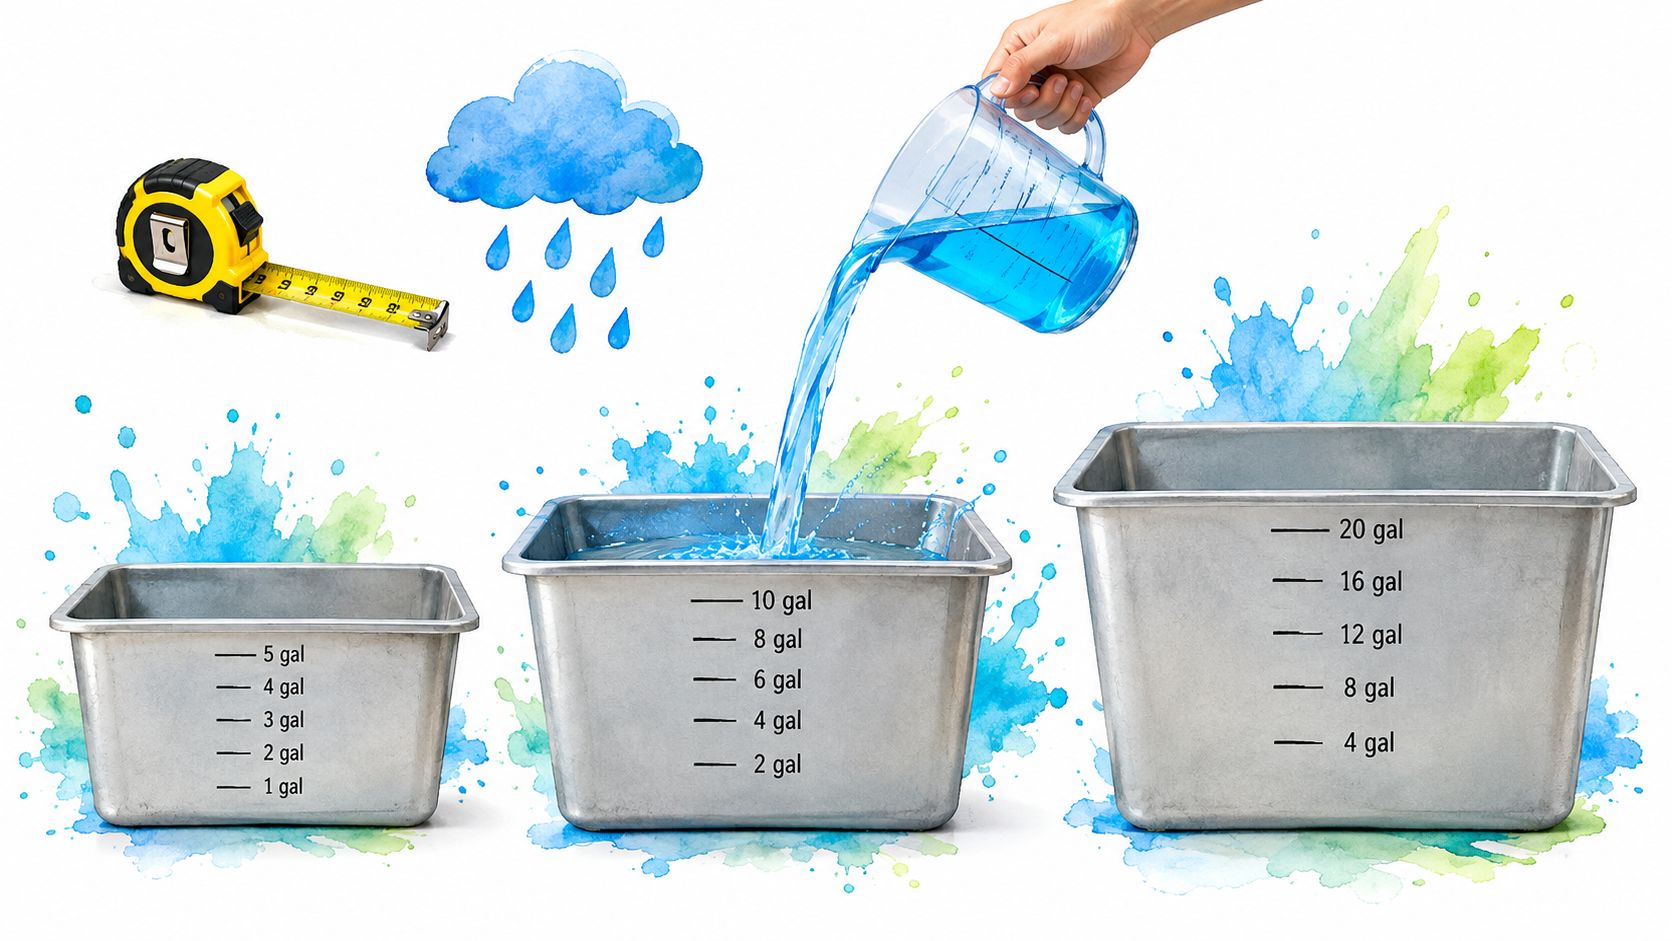
Undersized containment overflows, and overflow defeats the whole point of the control. EPA's concrete-washout guidance is direct on this point, collected washwater and cementitious solids should be handled in leak-proof containment, with the goal of recycling the collected material rather than letting it escape. On a small job, that may be a compact pan. On a large pour, it may mean a higher-capacity rental unit with enough reserve for weather.
Build margin into the plan
A fill level that looks “fine” at noon can be a problem by the end of shift if a storm rolls through. Open containers also collect rainfall, so the usable capacity is always less than the sticker size.
- Estimate from the busiest day: Use the largest expected pour, not a slow-day average.
- Account for weather: Rain eats capacity whether the crew uses the washout or not.
- Confirm service timing: Make sure pickup or replacement will happen before the unit is pushed too far.
- Treat capacity as operational, not nominal: What matters is room left after the day's work, not what the spec sheet says.
If the job has back-to-back pours, stage replacement early. Waiting until the unit is already stressed turns a small logistics issue into a contamination issue.
3. Place Washout Away from Drainage Paths and Receiving Waters
Before you pick a washout spot, map where water goes when it rains. Choose a location that trucks can reach without blocking the work, but keep it far enough from storm drains, ditches, creeks, wetlands, and low points that a leak or overflow cannot reach them.
EPA notes that concrete washwater is not just dirty water. It contains toxic metals and is caustic and corrosive, with a pH near 12. If that slurry runs downhill, it can reach a curb inlet, a ditch, or a receiving water before anyone has time to react.
Keep the unit close enough for practical use, but never give spilled slurry a straight path to water.
Local setback rules vary by jurisdiction, so check the permit and the SWPPP before you lock in the spot. If the pour sequence changes, reassess the location before work starts again. A washout that fits one phase can become a bad choice after grading, utility work, or a new haul route changes drainage patterns.
Use secondary barriers, not wishful thinking
Fiber rolls or silt fence around the perimeter give you a second line of defense if something goes wrong. They do not replace containment. They buy time if a liner fails or a driver misses the target.
- Avoid low points: Do not place the unit where stormwater naturally collects.
- Keep it off direct slopes: Gravity helps a spill travel fast.
- Recheck after phase changes: New work areas can create new drainage paths.
- Protect nearby inlets: Treat any drain as a control point, not background site clutter.
4. Use Leak-Proof Containment That Can Handle the Load
A washout container has to do two things well. It has to stop slurry from seeping into soil, and it has to stay stable while trucks, hoses, and weather put it to work.

That means a rigid steel or poly container, a sealed concrete pit, or a properly protected liner in an excavated area. It also means inspecting for tears, punctures, seam failures, and tipping risk before use. A damaged washout usually fails at the worst time, after the first rinse has already loaded it with slurry.
Check the liner before the pour starts
If the liner is damaged, the whole system is compromised. If the container sits unlevel, it can shift or tip when it's partially full.
- Inspect before each pour: Look for tears, punctures, seam gaps, and damage from traffic.
- Protect vulnerable surfaces: Use sand or geotextile when aggregate or rebar could cut the liner.
- Keep it stable: Level ground and secure placement reduce tipping risk.
- Replace worn material early: Repeated patching is not a substitute for a sound containment system.
If crews see a container sagging, splitting, or flexing under load, stop using it. The repair is cheaper than cleaning slurry off soil, pavement, or a storm inlet.
5. Inspect, Log, and Verify Performance on a Set Schedule
Walk the washout on a fixed schedule and after every rain event. Check four things every time: containment integrity, access route, signage, and remaining capacity. A clean-looking setup can still fail if a liner has split, a berm has settled, or trucks have tracked slurry into the access lane.
Use the inspection record as proof. An audit wants more than a visual impression. It wants dates, conditions, and corrective actions you can hand over without digging through memory. Record each walk-through, each repair, each service visit, and each solids removal in the SWPPP file, with photos when a problem is found.
Log what changed, not just what passed
A standard checklist keeps the crew focused on the same items each time. Note the weather, any wheel ruts, blocked signage, low freeboard, and any damage from traffic or cleaning equipment. If a problem shows up, assign the fix before the next pour or storm.
Crew standard: If it is not logged, it did not happen from a compliance standpoint.
A backup inspector should be named before the first pour. If the superintendent is tied up or off site, the inspection still needs to happen. That keeps the washout under control and removes the excuse that no one had time to look.
6. Manage Solids Before the Container Fills Up
Liquid is only part of the problem. Once slurry starts hardening, you're dealing with solids that still need to be removed, dried, and hauled correctly.
EPA's concrete-washout BMP says collected washwater and cementitious solids should be handled in leak-proof containment, with the objective of recycling the collected material. That means hardened residue shouldn't be left in place just because the liquid is gone. It has to be removed on time and sent to an approved destination.
Treat drying as part of the disposal plan
Letting the slurry settle or evaporate helps, but it doesn't finish the job. Crews still need a clear disposal path for the hardened material and a vendor who knows what forms or waste codes are required.
- Remove solids early enough: Don't wait until the unit is packed tight.
- Use approved disposal or recycling: Follow the receiving facility's rules.
- Keep receipts or manifests: Put them with the SWPPP records.
- Don't bury material on site: Only do that if the permitting authority specifically allows it.
A small amount of disciplined solids management is easier than a full-scale cleanout after the container has been abused for weeks.
7. Control Truck and Equipment Washdown
A concrete truck finishing a pour can leave the site clean or leave slurry where it should never be. Set the washdown point before the first chute drops, and make sure every driver, hose operator, and laborer knows it.
Ready-mix trucks, pump hoses, buckets, and hand tools belong in the designated washout area or at a controlled washdown station. Streets, driveways, and bare ground are out. Rinsing there sends slurry toward stormwater systems, stains the job, and creates tracking at the gate. Crews usually follow the fastest path unless the rule is clear and visible.
Put the instruction in supplier and pump contracts. Post it at the entrance. Then check it at the gate before the truck rolls off site. If a crew needs a reminder, give it on the spot and stop the rinse.
- Rinse chutes over containment: Keep truck washout inside the approved area before departure.
- Use a tray for small tools: Hand tools and finishing gear need their own controlled spot.
- Stop curbside rinsing: Streets and driveways are never backup washout areas.
- Correct violations immediately: Address bad practice as soon as it happens.
A visible control point helps. If the driver has to pass it, unauthorized rinsing becomes harder to excuse.
8. Stage Spill Materials and Respond Fast to Slurry Releases
A slurry release does not give you much time. Stage the spill kit near the pour and the washout area before the first truck arrives, so the crew can reach it without crossing the site.
Treat the first response as a site control problem. Stop the source, block the flow, and keep it out of drains, soil, and surface water. If an inlet is close by, cover it at once. Once slurry starts to set, cleanup takes more labor and creates more waste.
Give the crew a clear response order
Under pressure, people follow the shortest path. Make that path obvious.
- Stop the source: Shut off the leak or end the rinse.
- Contain the spread: Use sandbags, absorbents, or plastic sheeting.
- Protect inlets: Cover drains before material reaches them.
- Clean and report: Log the incident in the SWPPP record and follow permit reporting rules.
One short drill at the safety meeting helps. Crews remember where the kit is, which inlet is nearest, and who gets the call when slurry starts moving. Fast containment also keeps hardened concrete from becoming a removal job.
9. Build Washout into the SWPPP, Not Around It
A concrete washout area belongs in the SWPPP from day one. Mark the location, show the protection around it, and update the plan when the work zone shifts or the pour sequence changes.
Federal stormwater permits have covered construction sites of decreasing size since the 1990s, which is why formal stormwater planning is now part of normal construction control. EPA's permit history shows that shift, and the same lesson applies on site. Washout, inlet protection, haul routes, and street cleaning have to work as one control set. If one piece drifts, the others lose value.
Coordinate the controls before the pour
Fix conflicts before the trucks queue at the gate. A short pre-pour meeting with the superintendent, supplier, pump operator, and SWPPP consultant keeps everyone on the same map.
- Update the SWPPP map when the washout moves: An old location on the plan sends people to the wrong place.
- Sweep haul routes after deliveries: Slurry tracked into traffic areas can undo inlet protection and edge controls.
- Time inspections around active pours: Check the washout before trucks arrive and again after the pour ends.
- Keep sediment controls in service: Washout works better when erosion and tracking controls are already holding the site together.
The site can change fast. The plan has to change with it. Static paperwork on a live job does not protect anything.
10. Close Out the Washout Area Properly After the Last Pour
After the final truck leaves, the washout area still needs to be emptied, cleaned, restored, and documented before closeout.
EPA guidance on construction washout treats concrete washwater as material that must be controlled through the end of the job. Hardened solids need proper disposal. Liners or containers need to be removed or retired, and disturbed soil needs to be restored as required.

Put decommissioning on the closeout checklist early
Leave pickup scheduling to the last day, and residual material can sit on site longer than it should.
- Photograph the area before and after cleanup: Keep the record with the SWPPP file.
- Confirm pickup dates in advance: Rental gear should leave on schedule.
- Remove or restore disturbed ground: Don't leave stained or exposed soil behind.
- Keep final receipts and logs together: Closeout records matter if someone asks later.
A clean decommissioning process shows the site was managed, not just operated. It also makes the final inspection easier and leaves less cleanup for the owner or next contractor.
10-Point Comparison of Concrete Washout & Site Cleaning Best Practices
| Item | Implementation complexity | Resource requirements | Expected outcomes | Ideal use cases | Key advantages |
|---|---|---|---|---|---|
| Designated Concrete Washout Area (CWA) with Full Containment | Moderate, site planning and placement before first pour | Dedicated space, lined pans/containers, signage, SWPPP update, truck access | Keeps slurry out of stormwater and soil; reduces enforcement risk | Commercial, highway, and recurring pour sites | Predictable location for crews; strong permit alignment |
| Right-Sizing Washout Capacity for Liquids and Solids | Low–Moderate, requires volume calculations and coordination | Appropriately sized pans/containers, rentals, service schedule | Fewer overflows; efficient service intervals and cost planning | Large pours, high-volume shifts, variable schedules | Minimizes overflow risk; optimizes rental/disposal costs |
| Strategic Placement and Setbacks from Waterways and Drainage | Moderate, survey, mapping, and coordination with pour sequence | Site survey, stabilized access, secondary sediment controls | Reduces chance of contamination reaching drains or water bodies | Urban infill, sites near creeks/ditches, sloped terrain | Lowers environmental risk; meets setback regulations |
| Leak-Proof Lining and Structural Integrity | Low–Moderate, select/install liners or rigid containers and inspect | Heavy-gauge liners or rigid pans, protection layers, placement equipment | Prevents seepage to soil/groundwater; durable containment | Sites with groundwater sensitivity or repeated use | Durable, reusable containment; reliable leakage prevention |
| Routine Inspection, Maintenance, Recordkeeping, and pH Monitoring | High, scheduled inspections, calibration, and documentation | Trained inspectors, pH meters/test strips, logs, neutralizers, service vendors | Early detection of failures; audit-ready compliance evidence | Regulated projects, projects with permit pH limits | Reduces violations; documents corrective actions |
| Solids Management, Drying, and Compliant Disposal of Washout Waste | Moderate, drying/breakout and disposal coordination | Dewatering area, labor or equipment for solids removal, licensed haulers | Proper disposal or recycling; reduces onsite solids buildup | Projects generating hardened residue; sustainability-focused sites | Supports recycling/diversion; prevents on-site burial violations |
| Equipment and Truck Washdown Control | Low–Moderate, enforce procedures and exit checks | Containment trays/pans, signage, gate checks, contract provisions | Less tracking to public roads; fewer off-site discharges | High-delivery sites, multiple subcontractors, pump operations | Simplifies enforcement; reduces public roadway contamination |
| Spill Prevention and Rapid Response for Slurry Releases | Moderate, prepare kits, train crews, and define roles | Spill kits, sandbags, plastic sheeting, trained responders, logs | Faster containment and cleanup; lower regulatory exposure | High-risk pours, near inlets, pump or chute operations | Minimizes contamination scope and penalties |
| Integrated SWPPP Planning and Site-Wide Sediment and Tracking Control | High, comprehensive planning and ongoing coordination | SWPPP consultant, mapping, coordinated controls, meetings | Cohesive site-wide compliance; fewer control gaps | Large infrastructure or multi-phase projects | Single compliance framework; consistent regulator communication |
| Post-Pour Cleanup, Washout Decommissioning, and Site Restoration | Moderate, final cleanup, inspection, and documentation | Labor, disposal services, soil testing/remediation, photos/records | Clean site closeout; supports permit termination and inspections | Project completion and final permit closeout | Prevents residual contamination; documents final condition |
Turn These Ten Practices Into Your Next Pour Checklist
The sequence is straightforward. Plan the washout location before mobilization, size it for the biggest pour and the weather, place it away from drainage paths, verify the liner and structure, and inspect it after each pour and storm. Then keep the washout inside the SWPPP, control truck rinse-down, respond fast to spills, manage solids before the container fills, and close the area out properly when the work is done.
That sequence is what turns best practices for environmental cleaning into a field routine instead of a policy binder. It also keeps the job focused on the controls that matter most, source containment, access discipline, inspection, and documented closeout. Reborn Rentals fits that workflow because it supplies washout pans and containers with clear daily pricing starting at $25/day, which helps crews match capacity to the pour schedule without guessing at the rental cost.
If you're heading into another pour, walk the site before the trucks arrive and confirm the washout location, signage, access route, and available capacity. That one field check catches most of the mistakes that turn a normal workday into a cleanup and enforcement problem.
Reborn Rentals provides concrete washout pans and containers that help crews contain slurry responsibly and keep washout where it belongs on the job site. If you need a short-term containment setup for your next pour, visit Reborn Rentals to review options, compare daily pricing, and set delivery details before the truck shows up.