
Concrete Pumping Equipment Guide
The most expensive mistake in concrete placement is often made before the first truck arrives: choosing a pump because its brochure shows the highest output. A large number on a specification sheet doesn't tell you whether the machine can reach the pour, maintain pressure through the actual hose route, fit through the access point, or leave your crew with a manageable washout operation.
Concrete pumping equipment performs at the speed of the entire site, not the pump alone. Access, setup, hose handling, mix compatibility, operator skill, standby exposure, cleaning, and replacement support can outweigh theoretical capacity. The right choice is the machine that places concrete reliably at the required duty point while keeping labor, safety, cleanup, and downtime under control.
Rethinking Equipment Selection Beyond Maximum Output
A pump rated for exceptional volume can still be the wrong machine for a restricted site. If the truck can't position safely, the boom can't clear surrounding structures, or the crew must build a complicated hose route, the advertised output becomes irrelevant. The same applies when a high-capacity unit forces extra setup, causes congestion, or leaves the team without a practical washout location.
The useful question isn't, “What is the biggest pump available?” It is, “What is the lowest-friction method for placing this mix at this location?” That shift changes the selection process from capacity shopping to site planning.
Where theoretical productivity disappears
A pump's headline output describes a controlled operating condition. Actual placement depends on mix rheology, line diameter, hose length, bends, reducers, vertical lift, truck arrival spacing, and the operator's ability to manage the pour. ACI guidance on concrete pumping reports capacities ranging from approximately 15 to 250 yd³/h, while noting that most pumps can't deliver maximum volume and maximum concrete pressure simultaneously.
That limitation matters on ordinary work. A pump may have more capacity than the crew, formwork, finishing operation, or delivery schedule can absorb. Pushing volume beyond the site's handling rate can create surges, overrun the placing crew, and increase the consequences of a blockage.
Practical rule: Specify the pump around the actual pour path and crew capacity, then verify the output available at the required pressure.
Site friction also includes tasks that don't appear in a pump specification:
- Access and positioning: A truck-mounted unit needs a stable setup area, safe outrigger clearance, and sufficient boom operating space.
- Hose handling: Every additional section, bend, coupling, and manual move adds labor and exposure to the placing crew.
- Crew coordination: The pump operator, concrete trucks, hose team, finishers, and traffic control personnel must work to one sequence.
- Washout logistics: The pump and delivery system still need to be cleaned, and slurry must be contained without blocking haul routes or entering drainage.
Measure performance at the site boundary
A smaller or more flexible machine can outperform a larger one when it arrives faster, routes cleanly, and lets the crew maintain a steady placement rhythm. Conversely, a machine with impressive output can become a liability if it requires repeated repositioning or leaves no room for safe hose control.
Treat mobilization, setup, pumping, repositioning, cleaning, and demobilization as one operation. The best concrete pumping equipment is the equipment that completes that whole cycle with predictable labor and limited interruption.
The Evolution of Modern Pumping Technology
Concrete pumping emerged as a practical construction technology in the early twentieth century. In 1927, German engineers Max Giese and Fritz Hull developed the concept and demonstrated that concrete could travel through pipes to a height of 38 meters, or 125 feet, and a distance of 120 meters, or 394 feet. The history of the concrete pump shows how the basic pipe-transport principle became the foundation for modern placement.
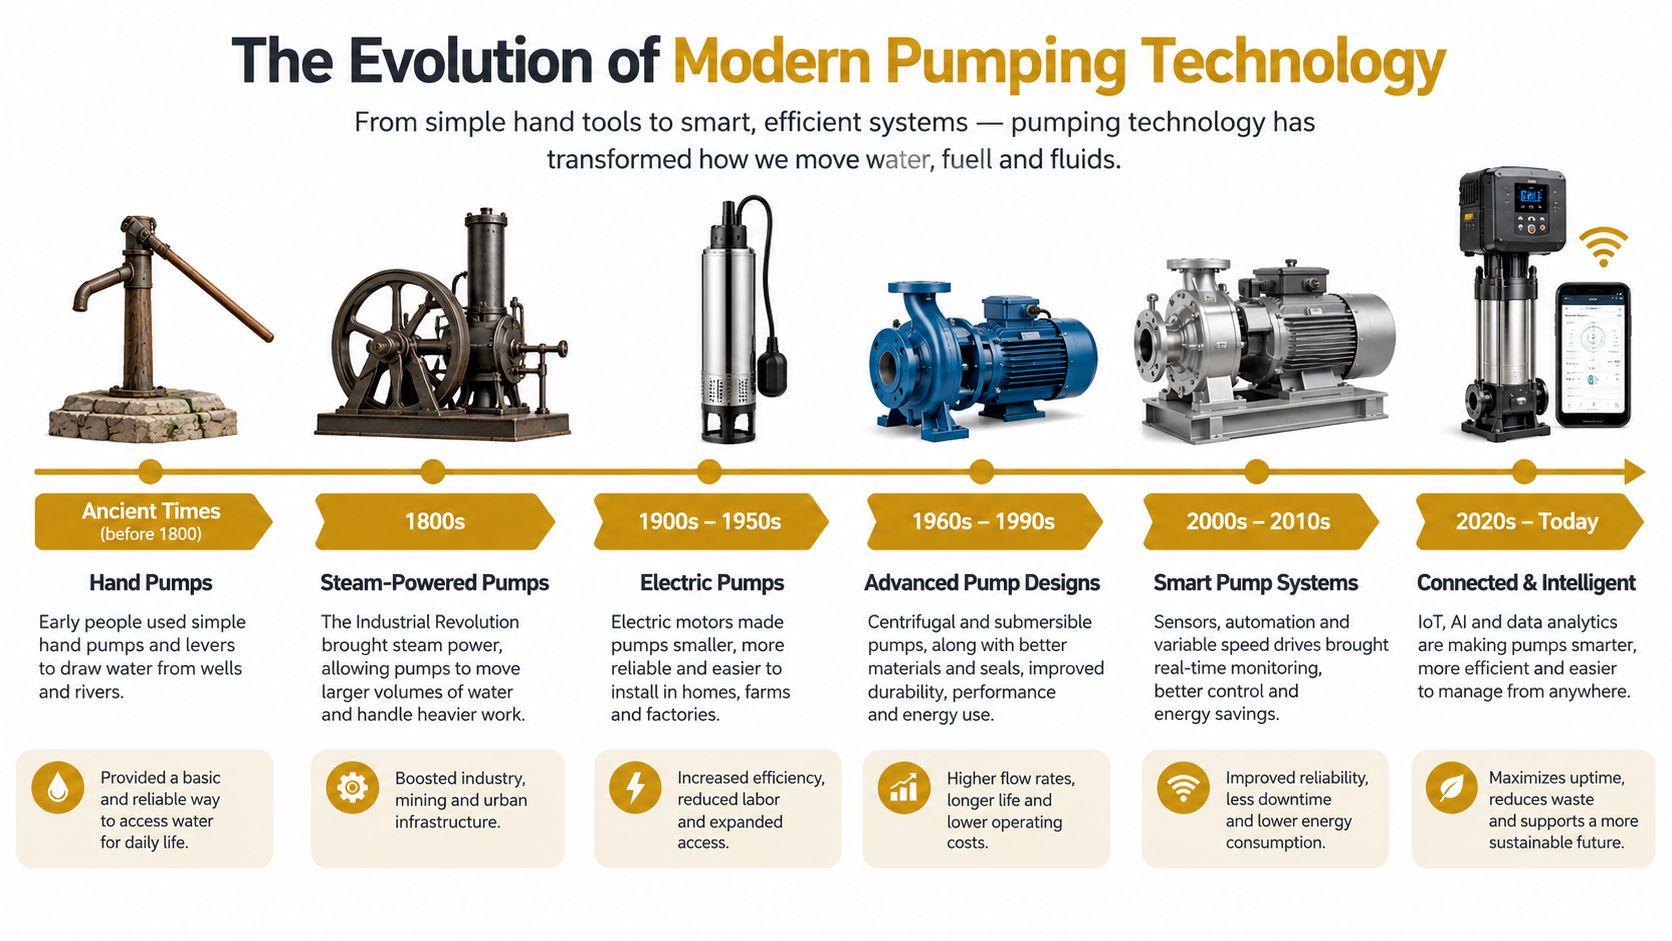
A mechanically driven pump was patented in the Netherlands in 1932 by Jacobus Cornelius Kooijman. The technology expanded substantially after World War II, particularly during reconstruction in Europe and Asia. Broader construction use developed in the United States from the 1970s, as high-rise work and long-distance placement created requirements that truck chutes couldn't handle efficiently.
The same principle, more control
Modern machines still move fresh concrete through pipelines and hoses, but the systems around that principle have changed. Hydraulic drives provide controlled pumping force, truck-mounted booms place concrete overhead, stationary pumps support fixed pipelines, and remote controls allow operators to coordinate movement without standing beside the machine.
That evolution explains why today's equipment categories solve different geometry problems. A boom pump addresses reach and positioning from a truck. A stationary or trailer unit separates the pump from the placing point, allowing the crew to build a delivery route through a congested structure or toward a remote elevation.
Why the history matters on site
Pumping isn't merely a workaround for an inaccessible corner. It became a foundational placement method for foundations, bridges, tunnels, multistory buildings, dense urban sites, and other work where truck chutes are inefficient. The historical lesson is practical: the equipment should be selected to solve the site's geometry, not to win a comparison based on maximum volume.
Comparing Boom, Line, and Trailer Pump Applications
Crews often pick a pump by rated output, then spend the pour fighting access, hose drag, washout, and repositioning. The better comparison is total site performance. A pump that places a little slower on paper can finish cleaner and with fewer delays if it fits the route, the crew, and the cleanup plan.
| Equipment Type | Ideal Project Scope | Primary Constraint | Setup Complexity |
|---|---|---|---|
| Truck-mounted boom pump | Open slabs, foundations, bridges, and pours requiring overhead distribution | Access, outrigger space, boom clearance, and positioning | Moderate |
| Stationary line pump | High-rise, long-distance, congested, or inaccessible placement | Pipeline routing, pressure demand, and component ratings | High |
| Trailer pump | Smaller or flexible pours where a ground-laid hose route is practical | Manual hose handling, reach, and crew availability | Low to moderate |
Truck-mounted boom pumps
A boom pump earns its keep when the truck can set up once, stay put, and distribute from above without fighting obstructions. That usually makes it the practical choice for open slabs, large foundations, bridge decks, and other placements where reducing hose handling matters as much as raw production.
Published boom equipment ranges commonly run from about 24 to 63 meters, with outputs up to roughly 160 m³/h and maximum pumping pressures up to about 200 bar. Those figures vary by model and setup, and published boom ranges from manufacturer specification tables show the same basic spread across current truck-mounted units.
The hidden cost shows up when the site cannot support the machine. Tight urban access, poor outrigger pads, overhead power or steel, limited truck staging, and repeated boom moves will slow placement fast. On those jobs, the boom may still be capable, but the site is not.
Stationary line pumps
A stationary line pump fits work where the route matters more than overhead reach. High-rise placements, tunnels, deep foundations, mat pours with difficult access, and long horizontal runs are typical examples. The pump stays in a workable location while the pipeline does the hard part.
That flexibility comes with more planning. The pipeline is not just an accessory. It becomes part of the job setup, with bends, reducers, supports, couplings, inspection points, and a controlled discharge end that the crew can handle safely. Every added fitting and direction change adds resistance, and every section has to be installed, checked, primed, cleaned, and broken down later.
This is usually the right answer when a boom cannot get into position or would spend the day chasing the pour.
Trailer pumps
Trailer pumps make sense on smaller placements, renovation work, interior pours, and irregular sites where a ground-laid hose route is workable and the crew can manage it without getting crossed up with other trades. They can be a sensible option when a truck-mounted boom cannot establish a safe setup area.
They are not cheap just because the machine is simpler. Labor drives the result. A trailer pump puts more of the job onto the crew handling hose weight, routing around corners, protecting access paths, and keeping the line under control as ready-mix trucks, finishers, and equipment all compete for space. If that hose has to be dragged, reset, and washed out through a congested site, the savings disappear quickly.
Decoding Capacity, Reach, and Pressure Specifications
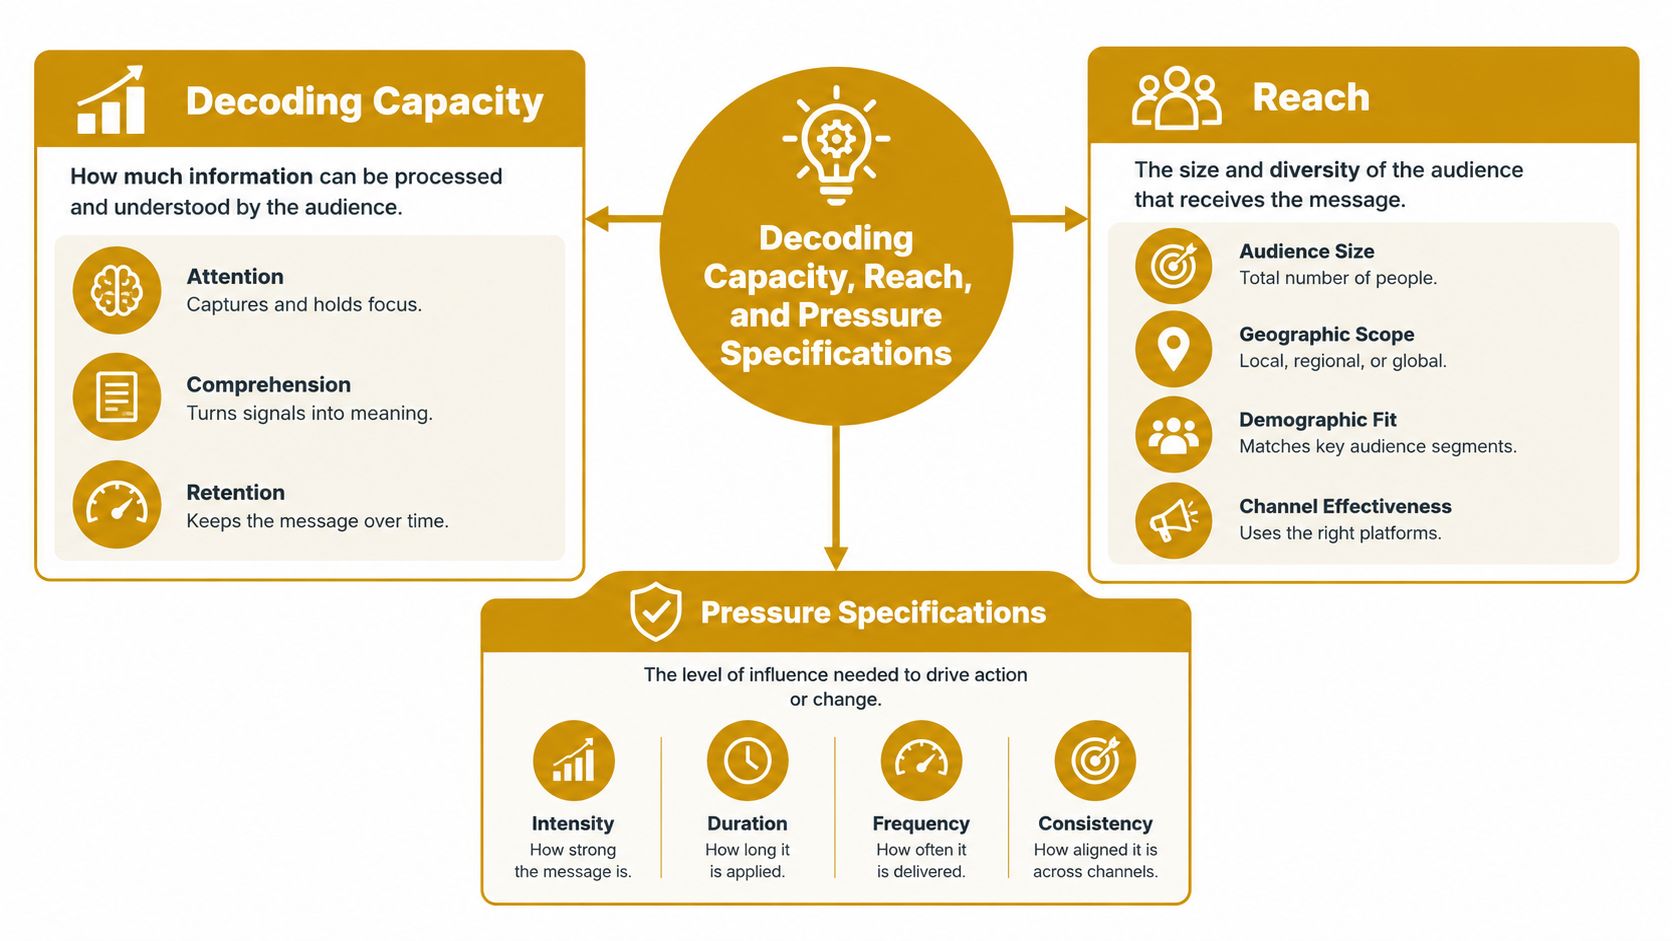
Rated output gets too much attention. On an actual pour, the deciding question is whether the pump can hold the required placement rate through the line route, with the actual mix, without turning hose handling, pressure spikes, or cleanup into the job's biggest problem.
Capacity, reach, and pressure have to be read together as one duty point. A pump may look strong on paper, then slow down once the line gets longer, the lift gets higher, or the route picks up extra bends, reducers, and hose sections. The machine does not work in isolation. The full delivery system, and the crew's ability to control it, set the usable result.
Start with the worst-case duty point
Before comparing pump models, map the hardest part of the placement route, not the easiest one.
- Vertical lift: Measure from the pump outlet to the discharge point.
- Horizontal distance: Use the full pipeline run, not a straight-line estimate.
- Bends and reducers: Count every change in direction and diameter.
- Line diameter: Confirm it suits the aggregate and the mix.
- Target rate: Set a pace the placing crew and formwork can receive.
- Component ratings: Check pipes, hoses, clamps, and couplings against expected pressure.
Manufacturer planning guidance typically estimates about 1 bar of pressure per 10 meters of vertical lift before friction losses are added. A 200-meter vertical riser can therefore use about 20 bar before you account for line resistance. That is why a pump rated around 25 MPa, or 250 bar, fits demanding high-rise work better than a lower-pressure unit intended for easier slab or road placements.
Pressure changes the usable output
The trade-off is straightforward. As pressure demand rises, usable output usually falls. That matters on site because lost output does not just slow the pour. It can leave the crew waiting on the line, force more hose repositioning, and increase the risk of rough handling at the discharge end.
Published stationary-pump examples show low/high theoretical outputs of 49/26, 90/50, and 100/50 m³/h, paired with concrete pressures of 5/10, 10/18, and 11.6/25 MPa, in stationary pump guidance from Truemax. The pattern matters more than any single number. Higher pressure capability often comes with a lower high-pressure delivery rate.
Mix still decides whether the setup will behave. ACI's published guidance identifies 2 to 6 inches of slump as a commonly suitable pumping range, subject to the project and the actual mix. If the mix is wrong, the route is cramped, or the hose run is awkward, pressure climbs, wear increases, blockage risk rises, and washout control gets harder. That last part gets overlooked too often. A pump that technically reaches the point of placement can still be the wrong choice if the crew cannot handle the hose safely or contain cleanup without disrupting the rest of the site.
Calculating True Placement Costs and Rental Drivers
The hourly rental rate is only one line in the placement budget. A pump that costs less per hour can become more expensive if it needs longer setup, more hose labor, extra standby, or difficult cleanup. Estimators should calculate the cost of placed concrete, not the cost of parked equipment.
A practical worksheet can use this structure:
Total placement cost = mobilization + setup and standby + operator labor + fuel or electricity + pumping charge + hose and accessory costs + cleaning and disposal + contingency for replacement or delay.
Divide that total by the quantity placed. Use the result to compare equipment methods on the same job, rather than comparing rental rates in isolation.
Build the estimate around site events
Mobilization is affected by distance, access, permits, and setup conditions. Standby can arise when trucks arrive late, the finishing crew falls behind, inspections interrupt the pour, or the pump must wait for a safe route. Those costs don't appear in the rated output, but they affect the final unit cost directly.
Operator time also deserves separate attention. A pump that requires extensive line assembly or manual hose movement may need more crew coordination than a boom pump. That labor can be justified when the site geometry demands it, but it should be visible in the estimate.
Include cleaning before approval
Cleaning is part of the pour, not a courtesy after it. The estimate should allow for water, labor, containment, slurry handling, transport, and disposal where required. A crew that finishes the placement but lacks a washout plan can lose access, contaminate drainage routes, or create a costly cleanup response.
Cost control starts with the last truck, not the first truck.
Rent for resilience, not only rate
Rental planning should include availability of replacement equipment, technical support, operator qualifications, and response time if the unit fails. A contingency pump may not be needed, but the contractor should know what happens if the primary machine becomes unavailable during a critical pour.
For recurring work, ownership may offer control over availability and configuration, while rental can preserve flexibility across changing project types. Neither route is automatically cheaper. Compare utilization, maintenance responsibility, service access, storage, operator competence, and the cost of an unplanned interruption.
Integrating Washout Containment into Site Logistics
Concrete pumping doesn't end when the last section is placed. The pump, delivery line, hoses, and truck components still contain cementitious material that must be cleaned without allowing slurry to enter storm drains, soil, or public routes. Washout containment should be shown on the site plan before the first concrete truck arrives.
Put the station where the work ends
The best washout location balances three needs: it must be close enough that operators won't bypass it, stable enough to support the equipment and containers, and separated from drainage paths and active traffic. A pan placed far from the pump may look compliant on paper but fail in practice when the crew is under pressure to clear the access route.
Plan the route from the pump and trucks to the washout station. Check turning space, ground conditions, hose reach, water access, and whether a replacement container can arrive without crossing a finished surface.
Contain slurry and manage the water
Washout water is highly alkaline and carries suspended cement particles. The site team should follow the project's stormwater plan and applicable local requirements for containment, filtration, storage, and disposal. The exact method depends on jurisdiction and project controls, so the superintendent must verify the approved procedure rather than assume that a shallow excavation or improvised berm is sufficient.
Containment planning should account for the equipment being cleaned and the sequence of the operation:
- Pump cleaning: Allow room for the pump discharge and cleaning tools without splashing beyond the basin.
- Hose and line cleaning: Provide a controlled place for residual concrete and rinse water.
- Truck washout: Keep truck access separate from pedestrian paths and finished work.
- Inspection: Assign a person to check freeboard, liner condition, access, and overflow risks.
- Removal: Confirm who schedules pickup, replacement, slurry disposal, or solidified material removal.
Treat capacity as an operational requirement
A pan must be sized for the planned washout activity, not chosen just because it fits beside the job trailer. Reborn Rentals lists washout pans and containers for concrete work, including options listed at 72' x 72' x 24', with approximately 18.25 tons and 441 gallons of capacity, and a 72' x 72' x 14' option listed at approximately 310 gallons, according to the publisher's product information.
Those figures should be checked against the actual pump, truck sequence, cleaning method, and local disposal process. A container that fills too quickly can force an unsafe pause or an unauthorized discharge. Schedule replacement or removal before the station reaches its practical limit.
Finalizing Your Equipment and Logistics Strategy
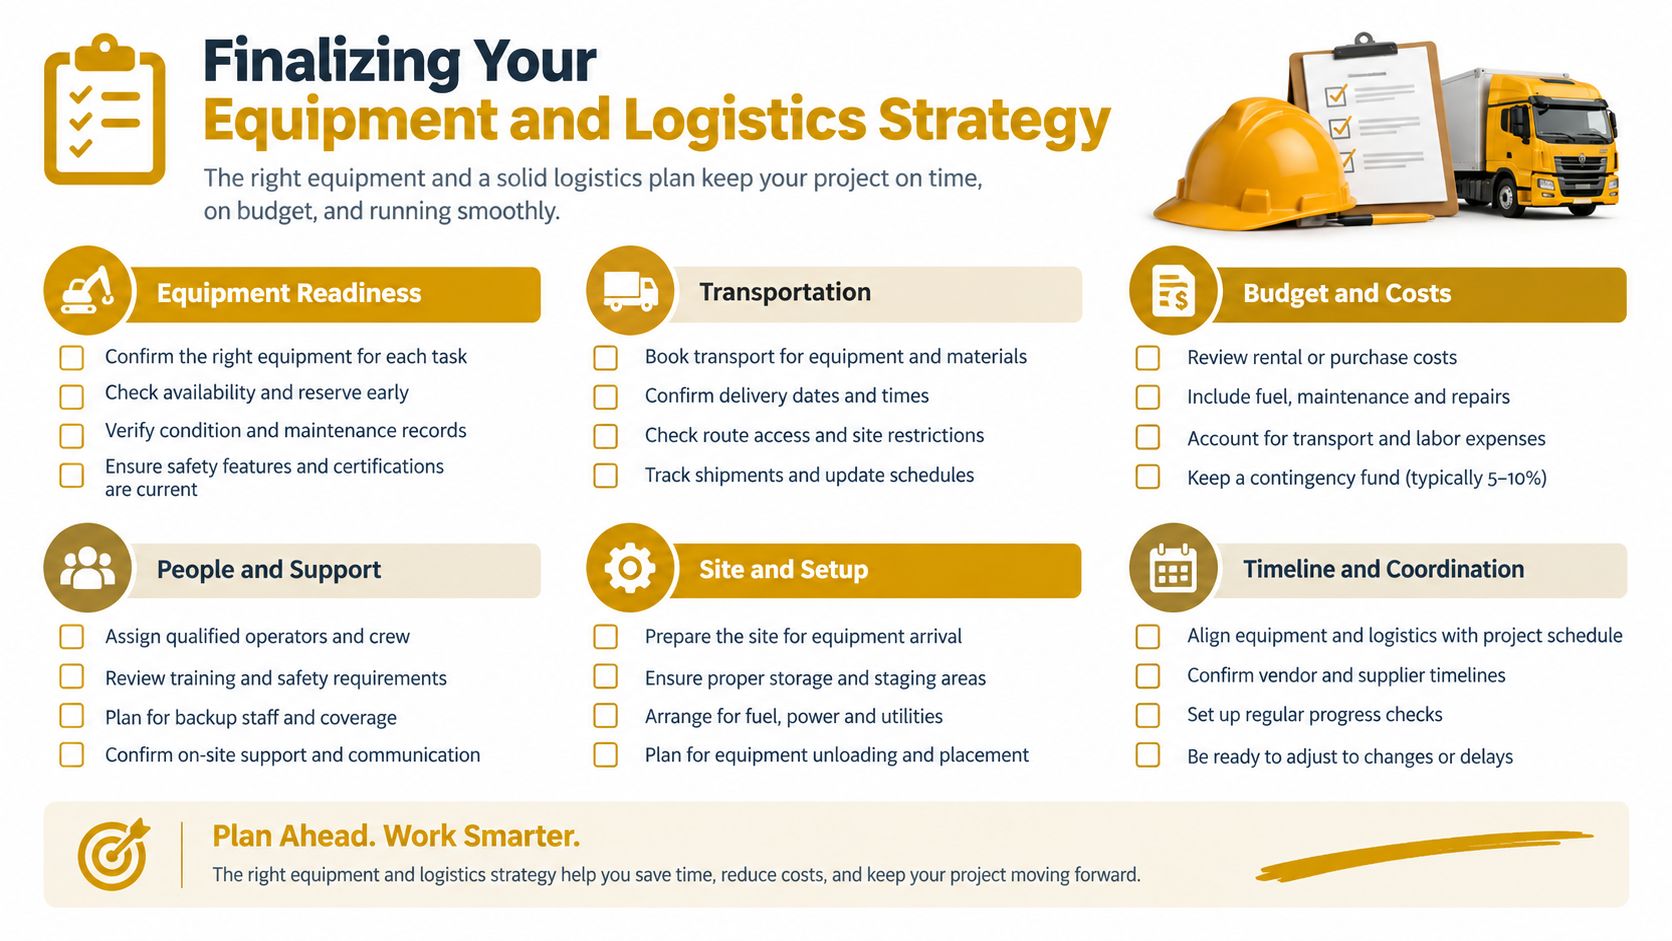
A reliable concrete pumping plan connects four decisions: machine type, actual duty point, crew workflow, and washout control. If any one of those is missing, the pump selection remains incomplete. The lowest hourly rate won't protect a pour that can't be accessed, routed, cleaned, or supported.
Use this pre-pour check before signing off the equipment:
- Confirm the geometry: Record vertical lift, horizontal distance, bends, reducers, discharge location, and setup clearance.
- Verify usable output: Review output at the specified operating pressure, not only the maximum theoretical capacity.
- Check the mix: Confirm slump, aggregate compatibility, line diameter, and any manufacturer limitations.
- Inspect the delivery system: Match pipe, hose, clamps, couplings, and supports to the expected pressure.
- Plan hose handling: Assign the crew, define safe movement zones, and remove conflicting traffic from the route.
- Sequence the trucks: Coordinate arrival timing with the pump operator, placing crew, finishers, and site access controls.
- Prepare washout: Position the containment station, verify capacity, arrange water and tools, and confirm disposal responsibility.
- Protect against downtime: Establish service contacts, replacement availability, and a response plan before the pour begins.
The right pump is the one that keeps the whole placement system moving safely, including cleanup.
For boom work, prioritize reach and positioning without ignoring outrigger space. For line and trailer work, prioritize pressure stability, route control, component ratings, and hose labor. For every method, calculate the cost of placed concrete and include the cleanup operation in the schedule and budget.
A dependable rental partner should also help you address the unglamorous details, including delivery timing, site access, pan replacement, and slurry disposal. Before your next pour, compare the complete operating cycle rather than accepting the largest capacity figure or the lowest hourly rate.
Reborn Rentals provides concrete washout pans and containment equipment for pumping, renovation, and other concrete projects, with delivery, scheduled replacement, and slurry disposal options available. Review the available sizes, confirm site logistics and pricing, and visit Reborn Rentals to arrange the washout support your next pour requires.