Contractor’s Guide To Disposing Of Rocks Effectively
You walk a site in the morning and there it is. A growing pile of rock from trenching, footing excavation, utility work, or cleanup around a slab edge. By lunch, the pile is in the way of trucks, your foreman wants it gone, and nobody has agreed on whether it should be reused, hauled off, broken down, or documented as clean fill.
That’s where jobs start leaking money.
Most crews treat disposing of rocks like a cleanup item. It isn’t. It’s a small operations plan with cost, schedule, equipment, trucking, and compliance tied to it. If you don’t define the material, pick the outlet, and document the path before loading starts, you end up paying twice. Once to move it, and again to fix the wrong decision.
Beyond the Pile A Plan for Your Rock Problem
A rock pile looks simple until it starts affecting the rest of the job. It blocks laydown space, crowds access, interferes with washout and drainage controls, and creates a bad habit on site where crews keep adding mixed debris because nobody owns the pile. Once that happens, disposal gets harder and more expensive.
Treat disposing of rocks as a formal mini-project. Give it a scope, a disposal path, a hauling method, a responsible person, and documentation. That sounds like overkill until you’ve had a container rejected, a load reclassified, or a stormwater inspector ask where the material came from and where it’s going.
The scale of waste handling in heavy industry is a good reminder that material management isn’t optional. The MiningWatch mine waste primer notes that Canada alone produces roughly 2 million tonnes per day of waste rock, and Australia’s largest open-pit gold mine operates at a strip ratio of 6, meaning six times more waste rock than ore. Different industry, same lesson. If material movement is managed at that scale, your site needs a plan too.
What a rock disposal plan actually covers
A usable plan is short. It answers five questions:
What is it
Loose rock, mixed spoil, oversize boulders, or rock contaminated by soil, slurry, or demolition debris.How much is there
Enough for reuse on site, enough for a few roll-offs, or enough that trucking and processing need their own schedule.Where is it going
Reuse, recycle, donation, or landfill.How is it moving
Loader to stockpile, skid-steer to dumpster, excavator to truck, or on-site breaking before haul-off.What paperwork backs it up
Hauler notes, dump tickets, clean-fill confirmation, and any permit or SWPPP documentation tied to the operation.
Practical rule: If you can’t explain the disposal path in one clear sentence to your superintendent, your field crew won’t execute it cleanly.
The goal isn’t paperwork for its own sake. The goal is control. A written plan keeps the pile from turning into mixed waste, keeps your hauling method aligned with the weight of the material, and gives you something defensible if questions come up later.
Assess Your Rock Volume Type and Condition
The first mistake new project managers make is counting “truckloads.” That’s not a quantity. It’s a guess wrapped in diesel fuel. Start with volume, then classify what the rock is.

Measure the pile before you touch it
Walk the stockpile and put rough dimensions on it. Length, width, and average height are more useful than arguing about how many loader buckets are in it. Even a quick field estimate gives you something you can compare against container capacity, trucking frequency, and disposal options.
For smaller jobs, separate the rock into obvious categories before pricing removal. Keep loose rock apart from mixed dirt. Keep large pieces apart from broken material. If a crew starts tossing concrete chunks, packaging, and muddy spoil into the same pile, you’ve already lost flexibility.
Use a simple field note like this:
- Pile A: clean loose rock from excavation
- Pile B: oversized boulders
- Pile C: mixed rock and soil
- Pile D: suspect material near slurry, demolition waste, or stained soils
That last category matters. A disposal outlet that accepts clean rock may reject material that’s mixed, stained, or loaded with fines.
Identify whether the rock is loose or embedded
Loose excavated rock is a hauling problem. Embedded boulders are a production problem first.
When you’ve got boulders still locked in the ground, don’t price them like loose debris. They take time, tool changes, and often a different crew sequence. The practical break point is size and embedment. Boulders over 2 ft in diameter often need mechanical breaking, and the standard method is drilling 6 to 12 inch holes, inserting wedges, and striking with an 8 to 12 lb sledgehammer. On granite and sandstone, that approach shows an 85 to 90% success rate for breaking material into sub-500 lb pieces that a skid-steer can load, according to Angi’s guide to disposing of rocks.
That matters because once the pieces are manageable, you gain options. You can stack them for reuse, load them safely, or stage them for a recycler. You’re no longer trying to improvise around one immovable object that keeps equipment tied up.
Don’t send a laborer with a hand bar to “see what happens” on a deeply embedded boulder. Decide up front whether you’re extracting it whole or breaking it in place.
Check condition before you assign a destination
Condition decides value. Clean rock can sometimes be reused or accepted as fill. Mixed material usually can’t. Wet, muddy loads create arguments at the scale house and at the receiving site because nobody wants to sort your job’s mess for you.
Look for three things before disposal:
- Cleanliness: Is the rock free of slurry, trash, rebar, roots, and excess soil?
- Consistency: Are the sizes reasonably uniform, or does the pile include everything from fines to boulders?
- Location history: Did it come from a clean excavation area, or from somewhere that triggers more scrutiny?
Build the assessment into your daily reporting
Experienced supers save time. They don’t wait until haul day to decide. They document the pile in the daily log, note likely disposal routes, and assign someone to keep the material segregated.
A short assessment record should include:
| Assessment Item | What to Record | Why It Matters |
|---|---|---|
| Material type | Loose rock, boulders, mixed spoil | Determines method and outlet |
| Approximate volume | Measured pile estimate | Helps with truck or dumpster planning |
| Piece size | Small, oversize, embedded | Impacts loading and processing |
| Contamination risk | Clean, mixed, suspect | Affects acceptance and pricing |
| Proposed outlet | Reuse, recycle, landfill | Prevents last-minute decisions |
The field version of this doesn’t need to be pretty. It just needs to be clear enough that the foreman, hauler, and PM are all working from the same plan.
Compare Your Disposal Options Reuse Recycle or Landfill
Once you know what you have, stop thinking only about removal. Think about the best outlet for that specific material. The cheapest haul isn’t always the cheapest disposal path. A load that could’ve been reused on site can become a paid landfill load if you mix it carelessly.
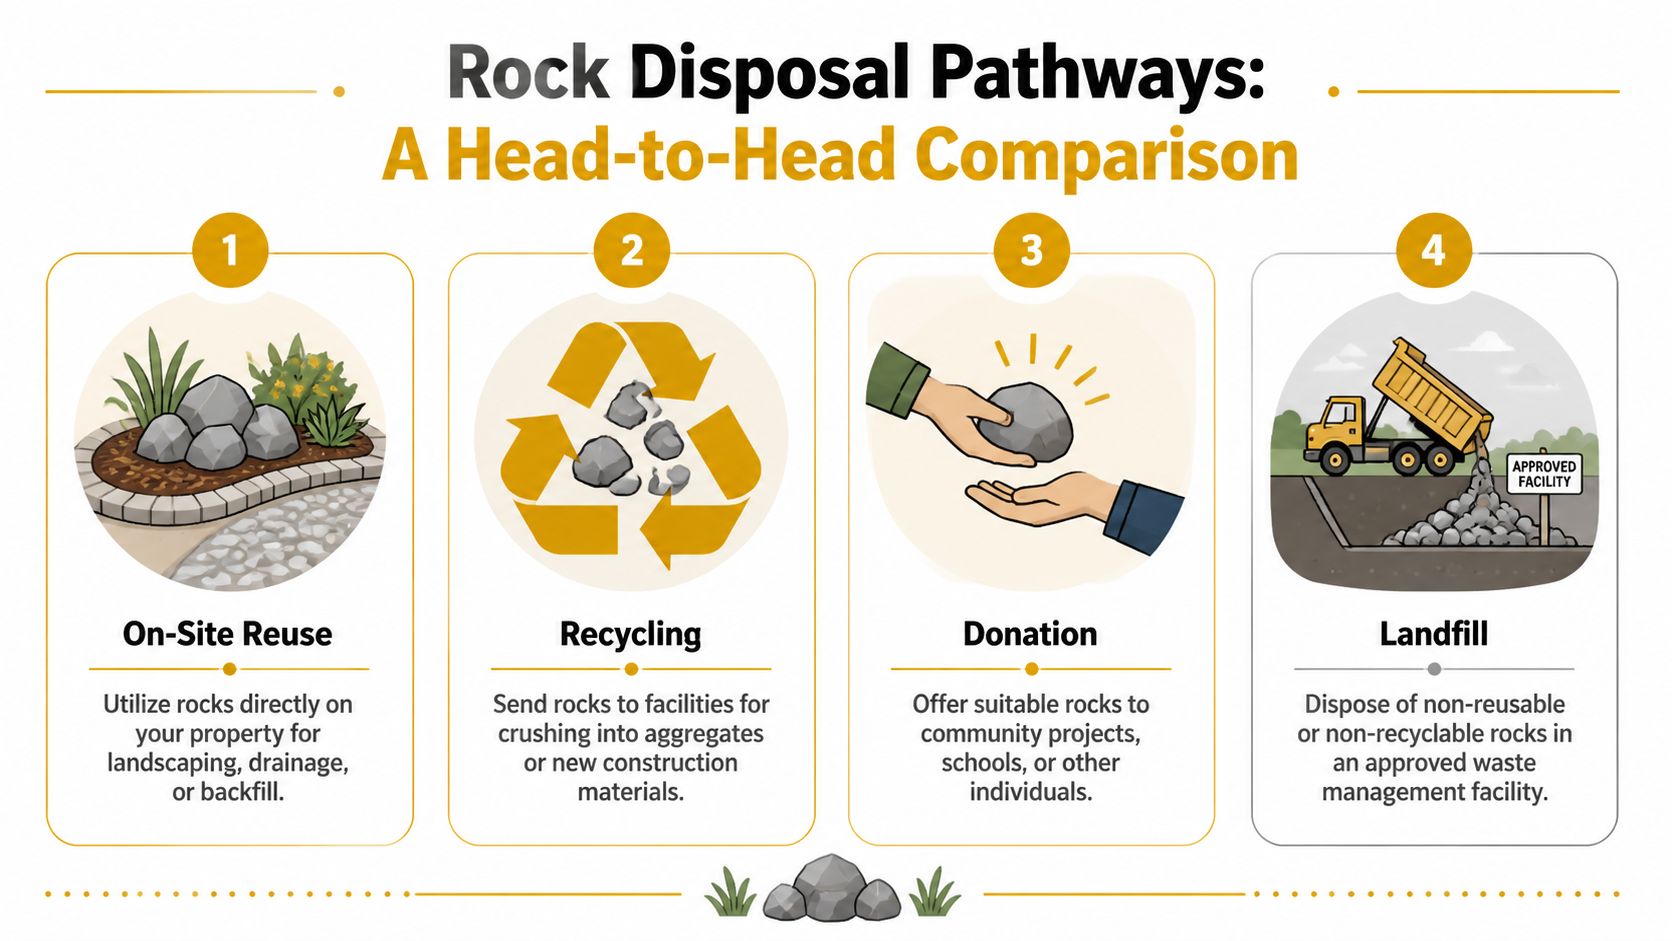
Reuse usually wins when the material stays clean
On-site reuse is the first option to evaluate because it cuts handling. If the rock works for backfill in approved conditions, erosion control details, non-structural outdoor areas, or temporary access stabilization, you avoid one of the biggest hidden costs in disposing of rocks: touching the same material multiple times.
Reuse works best when the rock is already close to where you need it. It works badly when crews have to keep moving it around the site because nobody defined a final placement area. That turns “free fill” into a labor sink.
Good candidates for reuse include:
- Drainage applications: Clean rock staged where water management needs support
- Exterior design and hardscape use: Material with a usable appearance and manageable size
- Backfill in appropriate areas: Only where the spec, engineer, and site condition allow it
- Temporary stabilization: Controlled use for access or staging support
The catch is simple. Reuse only pays if the material is suitable and the receiving location is planned. If not, the pile just relocates the problem.
Recycling works when you can meet the receiver’s standards
If reuse on your site doesn’t pencil out, recycling is the next practical route. Rock that can be crushed or processed into aggregate has value to a recycler, but only if the load is clean enough to be accepted. Mixing in trash, slurry residue, soil, or demolition debris kills that advantage fast.
This option usually makes sense when the material is hard, relatively clean, and consistent enough that the receiver won’t spend time sorting it. Large jobs also benefit because a recycler may be a better fit for repeated loads than a general disposal outlet.
A recycler wants material, not surprises. If your first load shows up mixed and muddy, expect slower unloads, stricter rules, or a flat rejection.
Donation is less common on commercial sites, but it has a place. Decorative rock, large stable pieces, or excess material suitable for community or private use can sometimes be claimed by others. The operational problem is coordination. Donation only works if pickup timing, access, and liability are nailed down. If your crew spends half a day waiting for someone who never arrives, the “free” option wasn’t free.
Landfill is the fallback, not the strategy
Landfill is where a lot of projects end up because it’s familiar. It’s also where avoidable costs show up. If the rock is mixed, contaminated, or unusable elsewhere, then landfill may be the right call. But it should be the result of a decision, not the default because nobody sorted the pile.
The main advantage of landfill is certainty. The disadvantages are cost, hauling weight, and paperwork. You’re paying to move dense material to a place where it creates no project value.
Here’s the clean comparison.
Rock Disposal Options Compared
| Disposal Method | Typical Cost | Best For | Key Consideration |
|---|---|---|---|
| Reuse | Lowest when feasible | Clean rock that can serve a purpose on site | Only works if placement is planned and approved |
| Recycle | Varies by receiver and haul setup | Clean, consistent rock suitable for crushing or aggregate processing | Loads must stay free of mixed debris and excess contamination |
| Donate | Variable and coordination-heavy | Decorative or usable rock with a clear secondary user | Pickup timing and site access can derail the idea |
| Landfill | Usually the most straightforward paid outlet | Mixed, unusable, or non-recyclable material | You’re paying for transport and disposal with no retained value |
How to choose without overthinking it
A practical decision sequence looks like this:
Can the rock stay on the project legally and usefully
If yes, reuse deserves the first look.If it can’t stay, can a recycler accept it as-is
If yes, keep it segregated and protect the load quality.If neither route works, is there a legitimate outside user
Only pursue donation if it won’t interfere with production.If the material is mixed or unsuitable, send it to landfill
Then document it and keep the process moving.
This isn’t about forcing a green story onto every pile. It’s about matching the material to the least painful outlet. The best disposal route is the one that fits the material, the schedule, and the paperwork without creating a second problem later.
Execute the Plan Hauling and On-Site Processing
Once the outlet is picked, field execution decides whether the plan saves money or burns it. At this point, jobs go sideways. The wrong container shows up, the loader fills it like it’s trash, the driver refuses the haul, and now your rock pile is still sitting there with a change order discussion starting in the trailer.
Roll-offs work, but only if you respect the weight
For many smaller and mid-sized jobs, the roll-off dumpster is the cleanest solution because it’s easy to stage and easy to schedule. The problem is that crews think in volume while the hauler thinks in weight.
According to Budget Dumpster’s rock disposal guidance, rocks average 1.4 to 1.6 tons per cubic yard, and a 10-yard dumpster typically holds about 7 to 10 tons before reaching common 10 to 12 ton hauling limits. Go over that and overage fees of $50 to $100 per ton can apply. The same source notes average landfill fees of $58 per ton, which tells you how fast bad loading decisions can erase your budget.
That’s why a smaller box is often the right call for heavy material. Not because you need the volume, but because you need to stay haulable.
Loading rules that keep the haul compliant
A few field habits make a big difference:
- Use the right bucket operator: Put your best loader or excavator hand on the container. Heavy debris isn’t where you want guesswork.
- Load evenly: Keep the weight distributed. Don’t build one end into a deadlift problem.
- Keep mixed material out: Soil, trash, and wet muck can change how the load is classified and accepted.
- Stop before the visual “full” point: With rock, “looks half full” can already be heavy enough.
- Confirm acceptance in advance: Some providers treat clean rock differently from mixed rock or contaminated fill.
The container that looks underfilled to a laborer can already be overweight to a truck.
When trucks beat dumpsters
Once volume climbs, repeated roll-off swaps can become a drag on production. That’s when dump trucks or direct truck loading may be the better fit. They reduce container downtime and can support a steadier excavation sequence, especially when the rock is already being handled by excavator.
The trade-off is coordination. Trucks need tighter dispatch timing, room to queue, and a site that can support movement without wrecking access or traffic flow. If your site is tight, a roll-off may still be easier even if it’s not the fastest.
A simple field comparison helps:
| Hauling Method | Best Fit | Main Advantage | Main Risk |
|---|---|---|---|
| Roll-off dumpster | Smaller staged removals | Easy placement and pickup | Overweight loads |
| Dump truck | Larger continuous export | Faster production flow | Requires better site logistics |
| On-site stockpile then haul | Phased projects | Lets you batch the work | Material can become mixed or rehandled |
On-site processing has to justify itself
On-site breaking or crushing can make sense when large pieces are slowing the job or when reducing piece size opens better reuse or recycling options. But don’t romanticize processing. It adds noise, space needs, crew coordination, and sometimes permitting requirements.
For embedded or oversize material, mechanical breaking is often the first practical processing step. If the resulting rock can be reused on site, you may avoid disposal entirely for that portion of the material. That’s where planning pays off. You’re not breaking rock just to make a different pile. You’re breaking it because the smaller size serves a hauling or reuse decision.
What to tell the hauler before they arrive
Most disposal headaches happen before the truck gets there. Your hauler needs a clean description of the job, not a vague note that says “rock.”
Give them this information:
- Material description: clean rock, mixed rock and soil, oversized broken rock
- Expected loading method: skid-steer, wheel loader, excavator
- Estimated load size: conservative estimate, not wishful thinking
- Access conditions: grade, turning room, overhead conflicts, gate limits
- Pickup rhythm: one-time, swap-out, or recurring loads
The PM’s job here is simple. Remove ambiguity. If the provider knows what’s on the ground and how you plan to load it, you’re far less likely to get hit with a surprise refusal, surcharge, or delay.
Navigate Permits and Environmental Compliance
Rock disposal gets expensive when teams treat compliance like a trailer conversation instead of a field requirement. The actual hauling may be straightforward. The liability shows up when material is undocumented, mixed into runoff paths, or placed somewhere that wasn’t approved.
If your project runs under a SWPPP, rock handling belongs in that conversation. Stockpiles affect drainage patterns, tracking, sediment control, and housekeeping. If crews leave broken rock, fines, and mixed spoil where stormwater can move through it, you’ve created a site condition that can draw attention for all the wrong reasons.
Clean fill isn’t just a label
When someone says a load is “clean,” that needs to mean something operationally. It means you know where the material came from, you’ve kept it separated from other waste, and you can explain why it should be accepted as fill or recyclable material.
That’s why documentation matters:
- Origin of material: note the excavation area or work activity
- Segregation method: show that crews kept it apart from trash, slurry, and mixed demolition debris
- Load records: keep tickets, receipts, and pickup dates together
- Site notes and photos: useful when questions come up later
The cheapest legal disposal route usually belongs to the contractor who can prove what the material is.
Local rules can change the field plan
Even if the rock itself is harmless, your disposal operation can trigger local requirements. Street placement for containers, truck routing restrictions, work-hour limitations, and temporary processing operations can all need approval depending on the jurisdiction.
On-site crushing or extended processing deserves extra caution. Before you commit to that path, verify what your locality expects. Don’t let a good operational idea stall because nobody checked whether the activity was allowed where the equipment is sitting.
Proactive compliance costs less than cleanup
The pattern is consistent on real jobs. Teams that plan disposal early keep cleaner stockpiles, maintain better paperwork, and avoid rehandling material under pressure. Teams that wait until the pile becomes a nuisance usually end up mixing material, improvising destinations, and paying more for the least flexible option.
Compliance isn’t separate from production. It protects production. If your rock disposal plan includes clear segregation, approved outlets, and complete records, you cut off most of the avoidable headaches before they start.
Your Rock Disposal Action Checklist
A good checklist beats a long meeting. Keep this in the project binder, in the superintendent’s notebook, or attached to your pre-task planning. It turns disposing of rocks from a recurring scramble into a repeatable process.
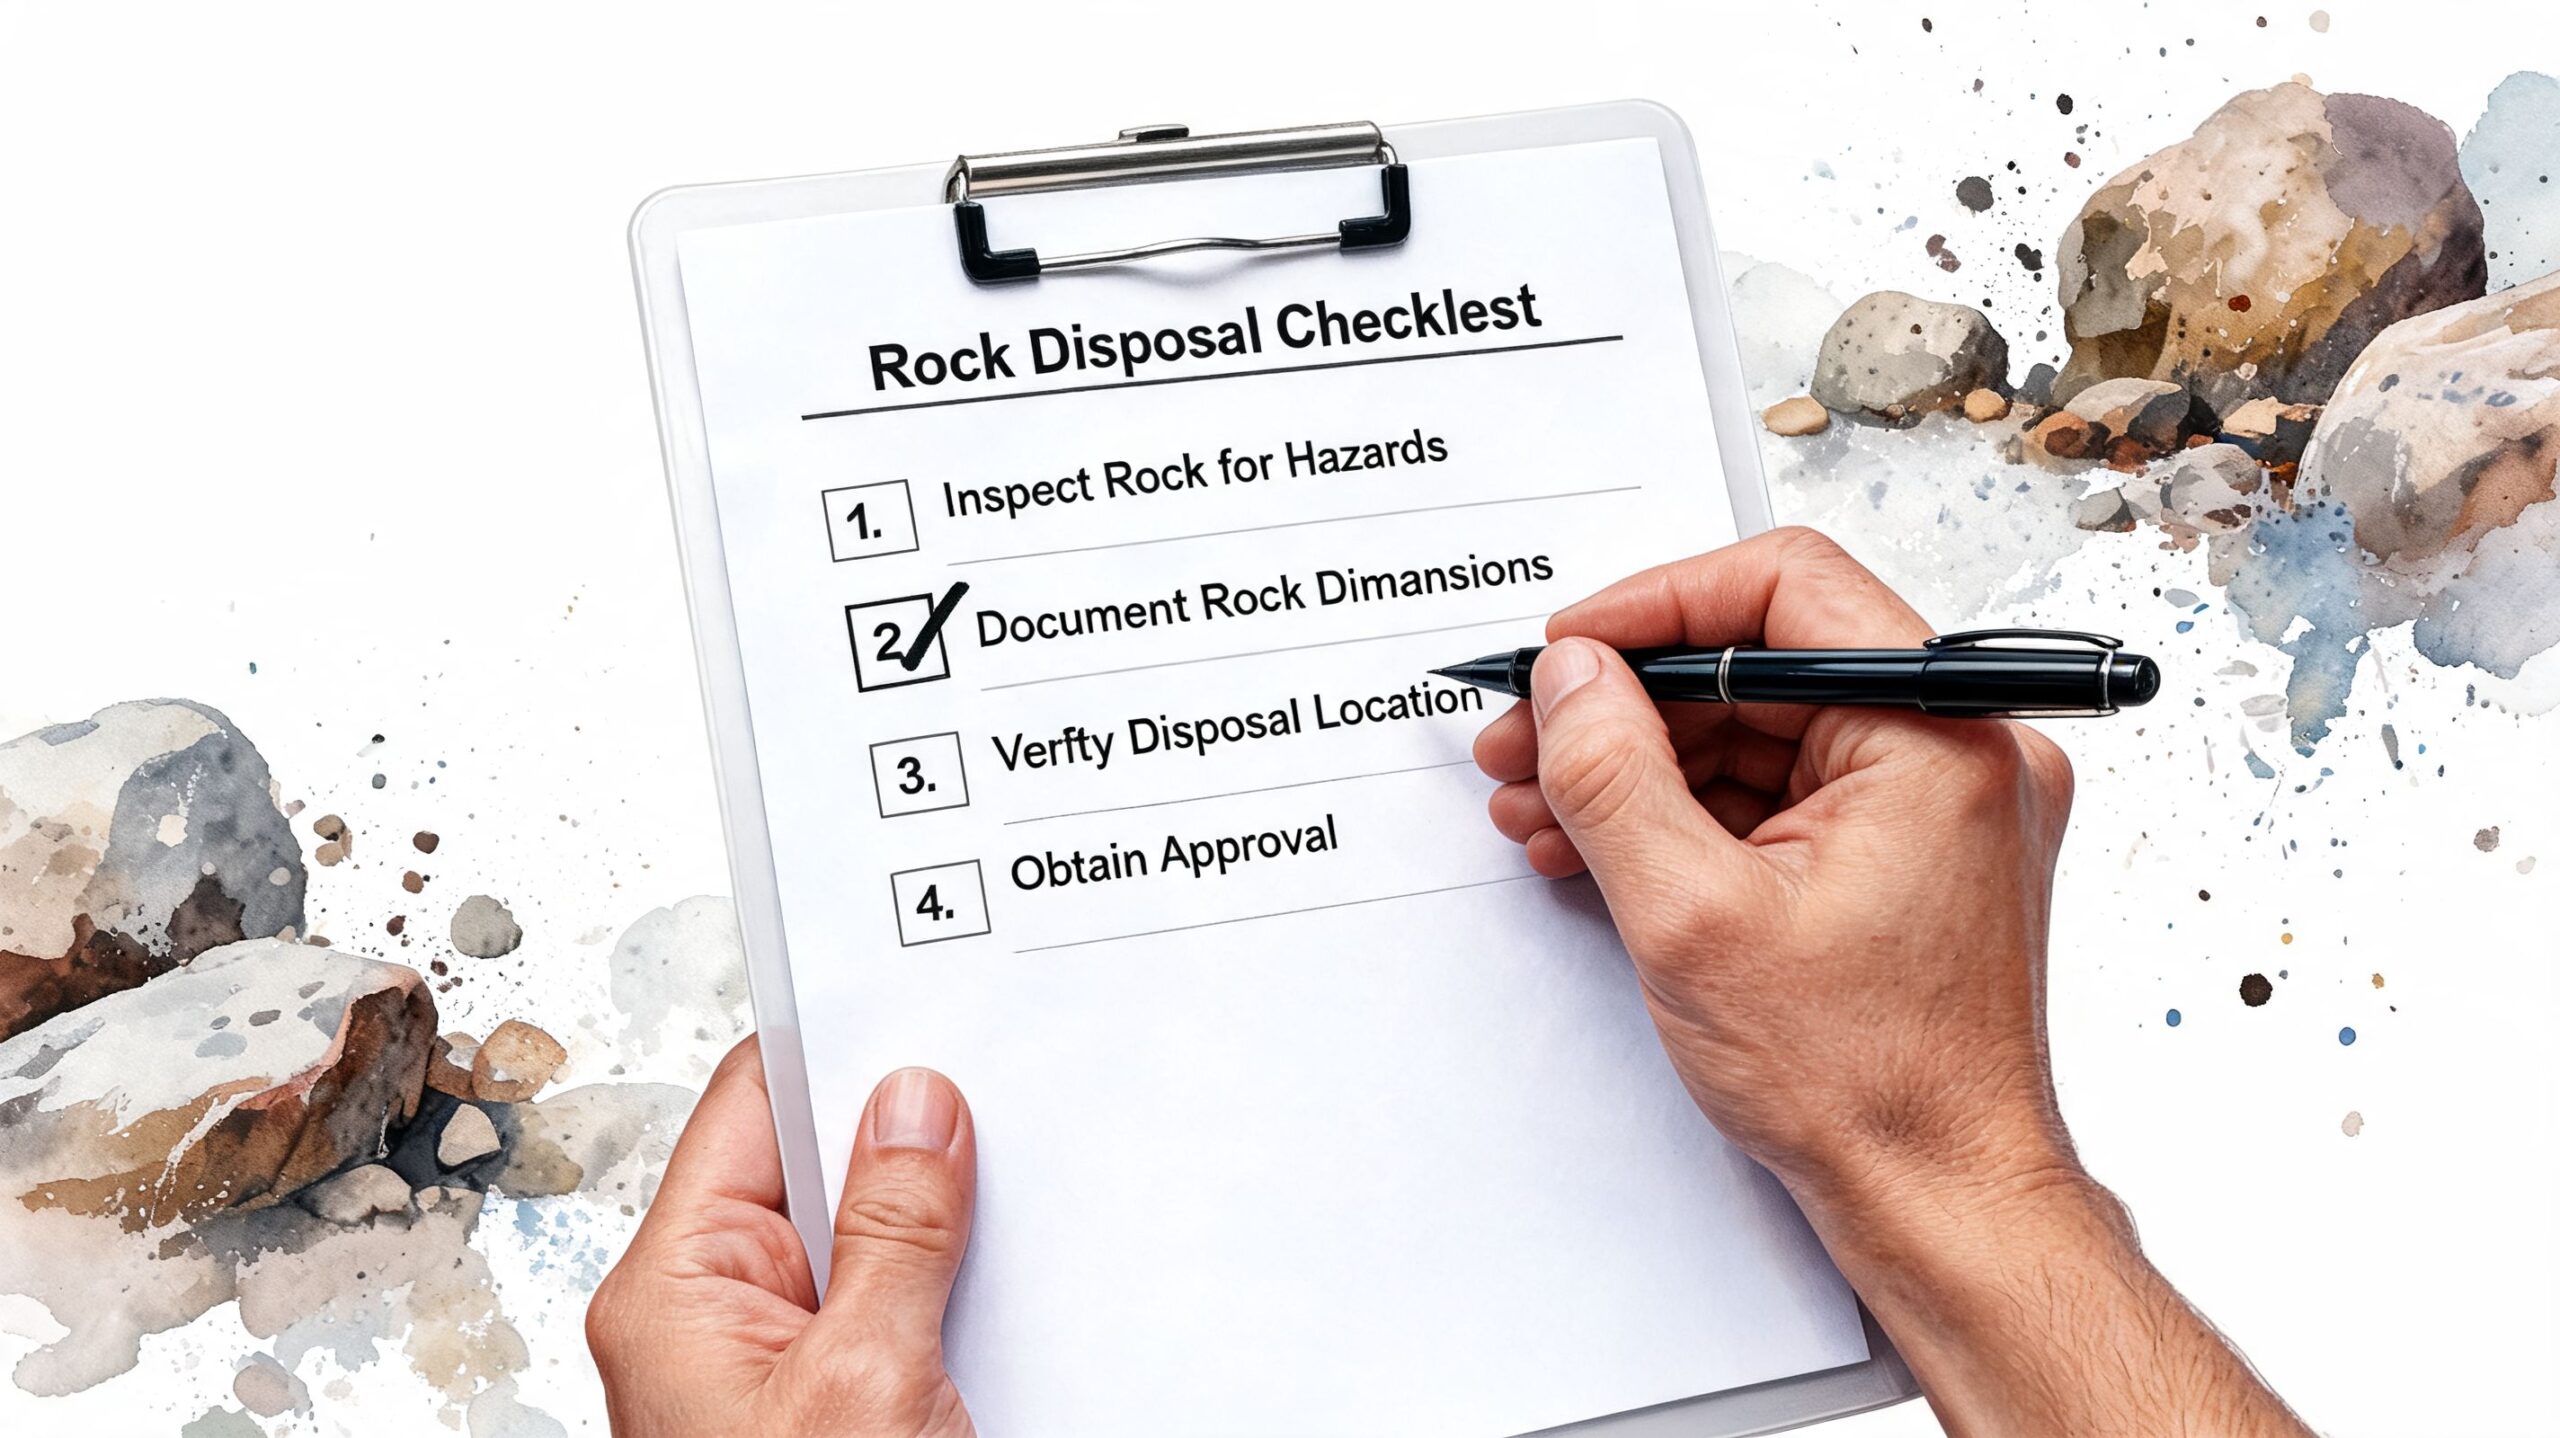
Assessment items to clear first
Start here before anyone calls for haul-off.
- Measure the material: Estimate pile size using field dimensions, not truckload guesses.
- Classify the rock: Separate loose excavated rock, oversized pieces, embedded boulders, and mixed spoil.
- Check condition: Identify whether the material is clean, muddy, mixed with soil, or contaminated by other site debris.
- Flag difficult pieces: Mark boulders or embedded rock that need breaking before they can move.
- Record origin: Note where the material came from on the site.
Strategy decisions that lock in cost control
After assessment, decide the outlet and commit to it.
- Pick the first-choice destination: Reuse, recycle, donate, or landfill.
- Name the fallback option: If the first outlet rejects the load, don’t make that decision from the cab of a truck.
- Protect the pile: Use signage, tape, cones, or crew instructions so nobody turns it into mixed waste.
- Match equipment to the plan: Breaking tools, loader type, skid-steer access, or trucking setup should support the selected route.
Logistics checks that keep the field moving
Execution falls apart when these details stay verbal.
- Book the right hauling method: Dumpster, dump truck, or phased stockpile removal.
- Confirm acceptance rules: Make sure the receiving party knows exactly what’s in the load.
- Set the loading sequence: Assign who loads, where trucks queue, and how the area stays accessible.
- Track tickets and pickups: Keep disposal records with the job file, not in someone’s glove box.
If the foreman, operator, and PM each describe the disposal plan differently, you don’t have a plan yet.
Compliance sign-off before the pile disappears
Close the loop the same way you’d close a concrete pour or utility inspection item.
- Verify SWPPP impact: Make sure stockpiling, runoff control, and housekeeping stayed in line with site requirements.
- Retain disposal paperwork: Keep tickets, receipts, and any clean-fill documentation together.
- Photograph final condition: Show the cleared area and confirm no residual mixed debris remains.
- Update the daily report: Note what left site, where it went, and whether any material stayed for reuse.
That’s the whole play. Assess it correctly. Choose the right outlet. Execute with the right hauling method. Document the result. Do that consistently, and rock disposal stops being a surprise cost.
If your site is dealing with rock debris alongside concrete work, clean material handling gets easier when washout containment is planned just as carefully as haul-off. Reborn Rentals helps contractors keep slurry controlled, sites organized, and compliance issues from spreading into the rest of the job. Their washout rental setup is straightforward, pricing is clear, and crews can coordinate delivery fast when schedules tighten.