Mastering National Concrete Washout Compliance
The truck is on tomorrow’s board. The pump is booked, the finishers are lined up, and everyone’s focused on placement. Then the question that gets ignored until the last minute lands on your desk: where is the washout going?
That decision affects more than cleanup. It touches your SWPPP, your stormwater compliance, your crew’s safety, your site logistics, and your disposal bill. If the washout area is undersized, in the wrong place, or improvised with whatever materials are lying around, you’ve created a problem that can follow the job long after the slab cures.
National concrete washout isn’t just a paperwork issue. It’s a field issue. The best sites treat it the same way they treat traffic control, excavation protection, and utility locates. They plan it early, set it up correctly, and give the crew one obvious place to use. That’s how you keep the site clean, keep inspectors off your back, and avoid paying twice for a preventable mess.
Your Guide to On-Site Concrete Washout Management
Most concrete washout failures happen before the first chute gets rinsed. They start with vague planning. Someone assumes the driver will “figure it out,” or the crew thinks a corner of the lot will be good enough. By mid-pour, gray slurry is tracking across the site, and nobody’s sure whether the washout location matches the SWPPP.
A working washout plan is simple, but it has to be deliberate. You need a containment method that fits the scope of the pour, a location that won’t send runoff toward inlets or water, and a service plan for removal or recycling before the unit gets overloaded. If any one of those pieces is weak, the whole setup starts to fail.
What a superintendent should lock down before the pour
- Confirm the washout method early: Don’t wait until the truck is rolling in. Decide whether the site will use a rental bin, disposable containment, or a built-in-place option during pre-pour planning.
- Match the setup to the work: A one-off small placement and an active multi-pour site don’t create the same washout volume. Size and service frequency matter.
- Coordinate with the SWPPP documents: The washout area needs to match the erosion and sediment controls shown for the project. If the field condition changes, update the plan and communicate it.
- Brief the crew and drivers: The best containment system still fails if half the site rinses tools somewhere else.
Practical rule: If your washout plan depends on people guessing where to go, it’s already weak.
Good washout management isn’t about adding another task. It’s about reducing chaos. A clear plan gives drivers a target, gives laborers a cleanup routine, and gives the site team a defensible compliance position when an inspector walks in.
What Is Concrete Washout and Why Is It a Hazard
The truck is rinsing out, the pump crew is breaking down, and gray slurry starts running across the grade because nobody set a real containment point. That is concrete washout in the field. It is the leftover water and cementitious residue from cleaning ready-mix chutes, hoppers, pump lines, tools, buckets, screeds, and finishing gear.
On paper, it looks like a cleanup issue. On an active site, it is a stormwater control issue, a worker exposure issue, and a cost issue at the same time.
Fresh washout contains cement fines, aggregate residue, and chemical admixture residue suspended in water. That water is highly alkaline and can burn skin, irritate eyes, and damage vegetation or receiving waters if it leaves containment. The solids are a problem too. Once they harden, you are no longer dealing with simple housekeeping. You are dealing with demolition, hauling, and surface repair.
Why washout becomes a site hazard fast
Washout spreads easily because it shows up during busy parts of the day. Drivers want to clean out and leave. Laborers rinse tools where they are standing. If the designated area is too small, too far away, blocked by materials, or already full, people create a second washout spot without asking permission.
That is where jobs get into trouble.
The liquid can run to curb inlets, unprotected soil, or low areas that hold stormwater. The residue can track across pavement on boots and tires. A small overflow at the end of a pour can turn into a reportable compliance problem after the next rain.
What the hazard looks like in the field
These are the failure points I see most often:
- Overflow during cleanup: The bin or berm had enough capacity for the pour, but not for the end-of-day rinse water from every truck, pump part, and tool.
- Convenience washing: Crews wash out beside the slab, near the trailer, or behind materials because the official area is not practical to use.
- Containment failure: Liners tear, berms flatten under traffic, or a built-in-place pit leaks into the subgrade.
- Tracking and splash: Vehicles, hoses, and foot traffic move slurry beyond the washout area and toward drainage paths or finished surfaces.
Each one creates the same result. More cleanup, more labor, more disposal cost, and a weaker position if an inspector asks how the site is controlling concrete waste.
Why proper handling is also a cost decision
A controlled washout area does more than keep you compliant. It keeps the operation predictable. Crews know where to go, drivers lose less time, cleanup stays contained, and removal can be scheduled before the unit is overloaded.
That matters because the cheapest-looking option on day one often becomes the expensive option by week three. An undersized pit, a poorly placed berm, or a disposable system that cannot keep up with the pour schedule usually leads to extra labor, emergency service, hardened spill removal, and schedule drag. A rental setup that matches the work volume often costs more upfront, but it can reduce rework, hauling surprises, and compliance exposure.
Good washout control is simple. Put the material in one place, size that area for the total rinse volume, and service it before it fails. That is how you keep slurry out of stormwater and keep a routine cleanup task from turning into a notice, a backcharge, or both.
Navigating National Concrete Washout Regulations
A truck finishes a pour, the driver asks where to rinse, and nobody gives a clear answer. That is how washout violations start. Not with a major spill. With a routine task that was never set up correctly.
Concrete washout rules can look scattered because the job is answering to federal permit language, state erosion and sediment controls, local inspectors, and the project SWPPP at the same time. On site, though, the standard is straightforward. Keep wash water and concrete slurry contained, away from inlets, soils, and any path to stormwater.
The EPA framework under the Clean Water Act and the NPDES program is what sets the baseline on many projects. States and local jurisdictions usually build on that baseline through permit conditions, inspection criteria, and approved BMP details. The result is simple for the field team. A washout area has to be planned, shown in the SWPPP when required, placed where crews will use it, and maintained before it fails.
What the rules mean on an actual project
On permitted construction sites, washout is part of stormwater control. It is not a housekeeping detail. If the site needs SWPPP coverage, the washout control has to match the written plan and the field conditions.
That usually comes down to four field requirements:
- The washout location is designated before concrete work starts.
- Drivers and crews can find it without asking.
- The containment holds both liquids and hardened residue.
- Someone is assigned to inspect, clean out, and service it before capacity becomes a problem.
The fourth item is where jobs get exposed. A container that was fine on Monday can become a violation by Friday if production ramps up, rain adds volume, or crews start dropping broken chunks over the side. Inspectors notice that fast.
SWPPP language has to match field reality
The paperwork and the operation have to line up. If the SWPPP shows one washout location but the drivers are washing out somewhere else because access is blocked, the site is out of compliance even if a containment unit exists.
I have seen that happen on tight sites where the planned area looked acceptable on paper but was too far from the pour, too soft for truck approach, or boxed in by material laydown a week later. Crews will always choose the practical option. If the practical option is not the compliant one, the plan is wrong.
That is why washout planning is also a cost-control decision. A well-placed rental unit or pan often costs more than an improvised field setup on day one, but it can cut labor, reduce missed inspections, avoid spill cleanup, and keep the SWPPP defensible. Cheap containment that crews avoid is expensive containment.
What inspectors usually focus on
Inspectors generally look for the same things, regardless of agency or municipality:
- Is there a clearly identified washout area on site.
- Is it located away from storm drains, curb lines, drainage swales, and water bodies.
- Is the containment intact and sized for current work.
- Are crews using it.
- Does the field condition match the permit documents and inspection records.
If one of those breaks down, the problem spreads quickly. Slurry tracks onto pavement. Cleanup labor goes up. Someone has to document corrective action. On a busy project, that turns into lost time for the superintendent, the SWPPP inspector, and the concrete sub.
The real risk is operational, not just regulatory
Fines get attention, but the daily job cost usually shows up first. One bad washout location can create extra labor for cleanup, disposal issues, stained finished surfaces, inlet protection replacement, owner complaints, and delays while the site gets back under control.
Field check: If a driver can reach the pour more easily than the washout, the washout plan needs to be fixed.
Good compliance is practical. Mark the area. Keep access open. Inspect it like any other BMP. Service it before it is full. That is how a washout plan protects both the permit and the budget.
Comparing Your On-Site Washout Containment Options
A crew finishes a pour late in the day, the trucks are stacked up, and nobody wants to wait on a bad washout setup. That is when the containment choice starts affecting cost. If the system is awkward, undersized, or too fragile for the site, crews work around it. Then the job pays for cleanup, extra handling, and corrective action.
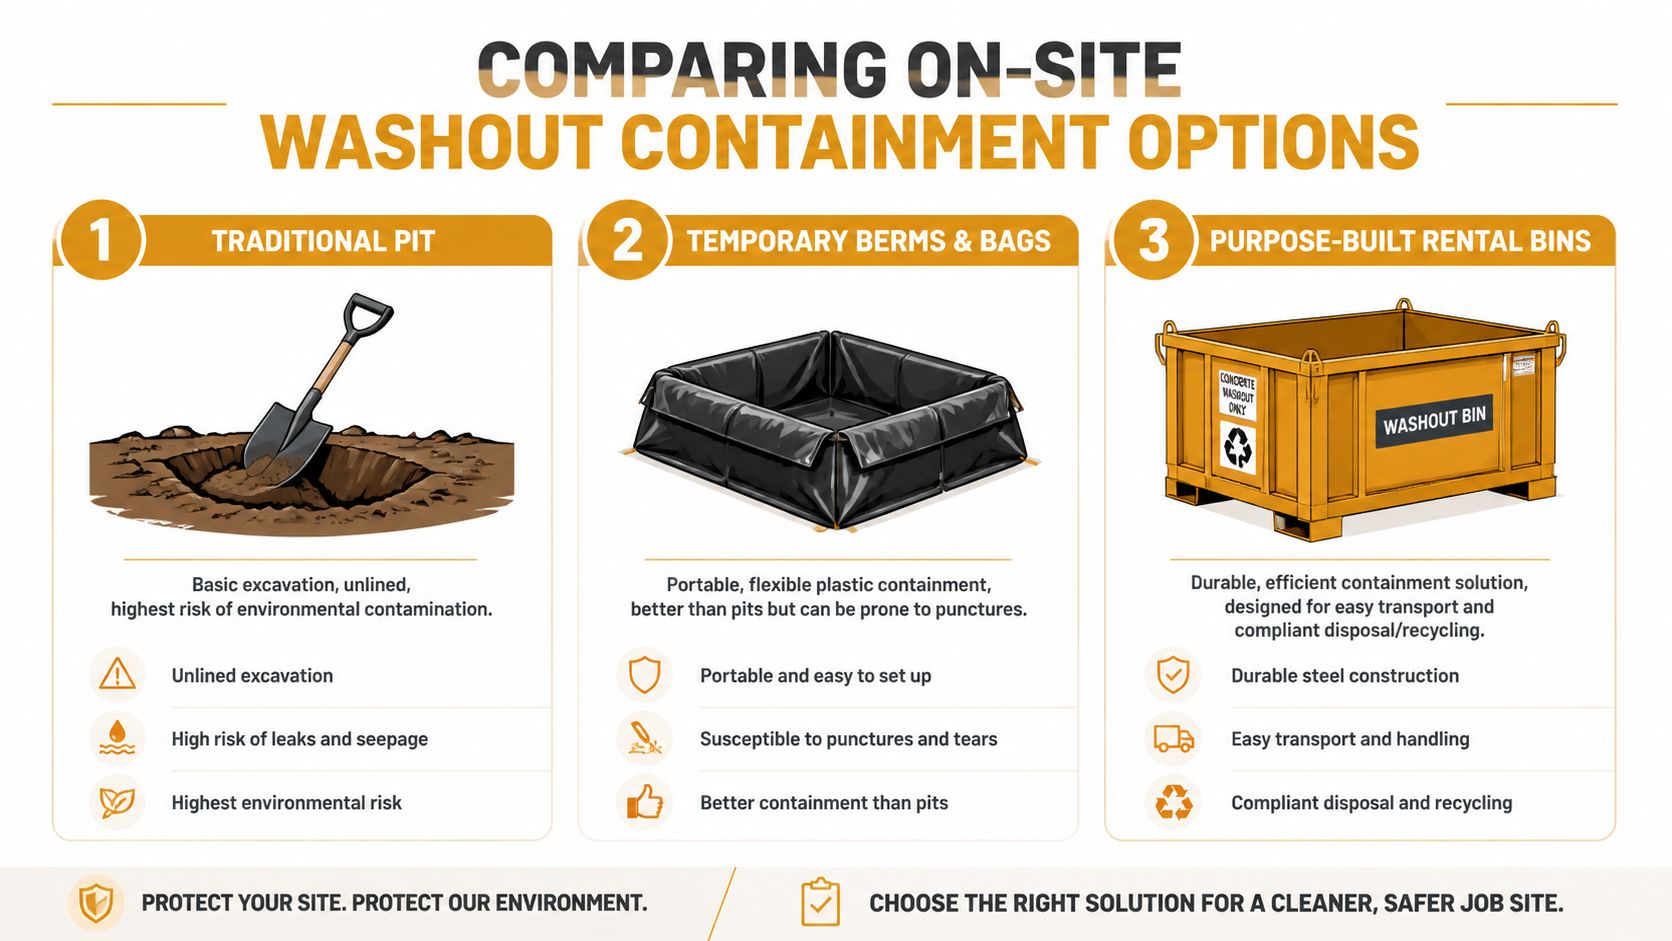
Every site has three practical options. Build a pit, set disposable containment, or rent a purpose-built bin or pan. Each can work. The difference is how much labor they consume, how predictable they are under field conditions, and how much risk they leave on the superintendent’s side of the ledger.
The side-by-side comparison
| Method | Upfront Cost | Labor Intensity | Compliance Risk | Site Impact |
|---|---|---|---|---|
| Traditional pit | Highest in many cases, especially once excavation, liner work, cleanup, and restoration are included | High | High | High disturbance |
| Disposable bags | Mid-range | Moderate | Moderate | Lower disturbance, but more exposure to puncture and shifting |
| Rental bins or pans | Often lower daily cost than crews expect, especially on repeated pours | Lower | Lower when properly placed and serviced | Cleaner footprint |
Traditional pits can fit the job, but they carry hidden cost
A pit gives the site flexibility if you have open ground, available equipment, and enough duration to justify the setup. Some crews still prefer them because they control the location and do not depend on outside scheduling.
The trade-off is field management. A pit has to be dug in the right area, protected from traffic, kept accessible after rain, and restored at the end. If the liner tears or the sidewalls break down, the failure is on the site team. That usually means laborers cleaning slurry, equipment tied up on rework, and the superintendent documenting the fix.
Pits also create disturbance that has to be closed out later. On a tight commercial site or a finished pad, that alone can take them off the table.
Disposable systems help on short jobs, but they are easy to outgrow
Washout bags and bermed disposable systems solve one immediate problem. They let you set containment without excavation. For isolated work, punch-list concrete, or sites where a machine cannot get in, that can be the right call.
Their weakness is durability. Forklifts, rebar, pump hoses, truck tires, and uneven subgrade all work against them. Once a bag shifts, tears, or starts bowing under load, the crew loses confidence in it. At that point they either avoid it or overfill it, and neither outcome helps compliance.
Disposal can also become a chore. Hardened material still has to be handled, loaded out, and documented properly.
Rental bins and pans usually make the best operational sense
Rental containers solve the day-to-day problems better because they are built for repeated use, visible to drivers, and straightforward to service. That matters more than the rental line item. A good washout rental is not just a piece of equipment. It is a way to control labor, reduce improvisation, and keep the SWPPP plan enforceable in the field.
As noted earlier, published cost comparisons show why many contractors have shifted this direction. Pits can end up as the most expensive option once labor and restoration are counted. Disposable systems can look reasonable until puncture risk, changeout, and disposal are added. Rental pans often start with a low daily rate and can reduce disposal cost when the provider supports recycling.
That changes the economics. Instead of paying crews to build, babysit, and remove containment, the site pays for predictable placement and scheduled service. On multi-pour work, that is usually the better trade.
A rigid container also changes behavior. Drivers see it. Finish crews trust it. Inspectors recognize it.
What fits each project best
The right answer depends on the job conditions, not habit.
- Long-duration projects with recurring pours: Rental bins or pans usually give the best cost control because the containment stays consistent and service can be planned.
- Urban sites, paved lots, and finished surfaces: Rentals are often the cleanest option because they avoid excavation and keep the washout area contained.
- Small or isolated placements with low volume: Disposable containment can work if the surface is stable, access is controlled, and the crew will not overload it.
- Open sites with available earthwork support: Pits can still be workable, but only if the team accounts for liner integrity, weather, restoration, and the actual labor involved.
The main decision is not which option can hold slurry for one day. The real decision is which option keeps crews using the washout area correctly while controlling labor, hauling, cleanup, and inspection risk over the life of the job.
How to Select and Deploy the Right Washout Rental
A bad washout setup usually fails before the first inspection. It fails when the pump truck has no clean approach, the mixer driver rinses out in the nearest open area, or the container is already too full halfway through the pour. By then, the crew is improvising, and improvised washout is what turns a routine concrete day into a cleanup bill, a SWPPP problem, or both.
The right rental solves two problems at once. It gives the crew a container they will use, and it gives the superintendent a predictable way to control labor, service timing, and disposal cost. That is the core value. A washout rental is not just a box on the site plan. It is part of the compliance plan and part of the job cost plan.
Industry guidance sets a useful baseline. Portable washout containers are commonly specified at a minimum of five cubic yards, with placement at least 50 feet from storm drains and watercourses, and overflow risk rising once the unit gets much past three-quarters full, according to the concrete washout container specification sheet.
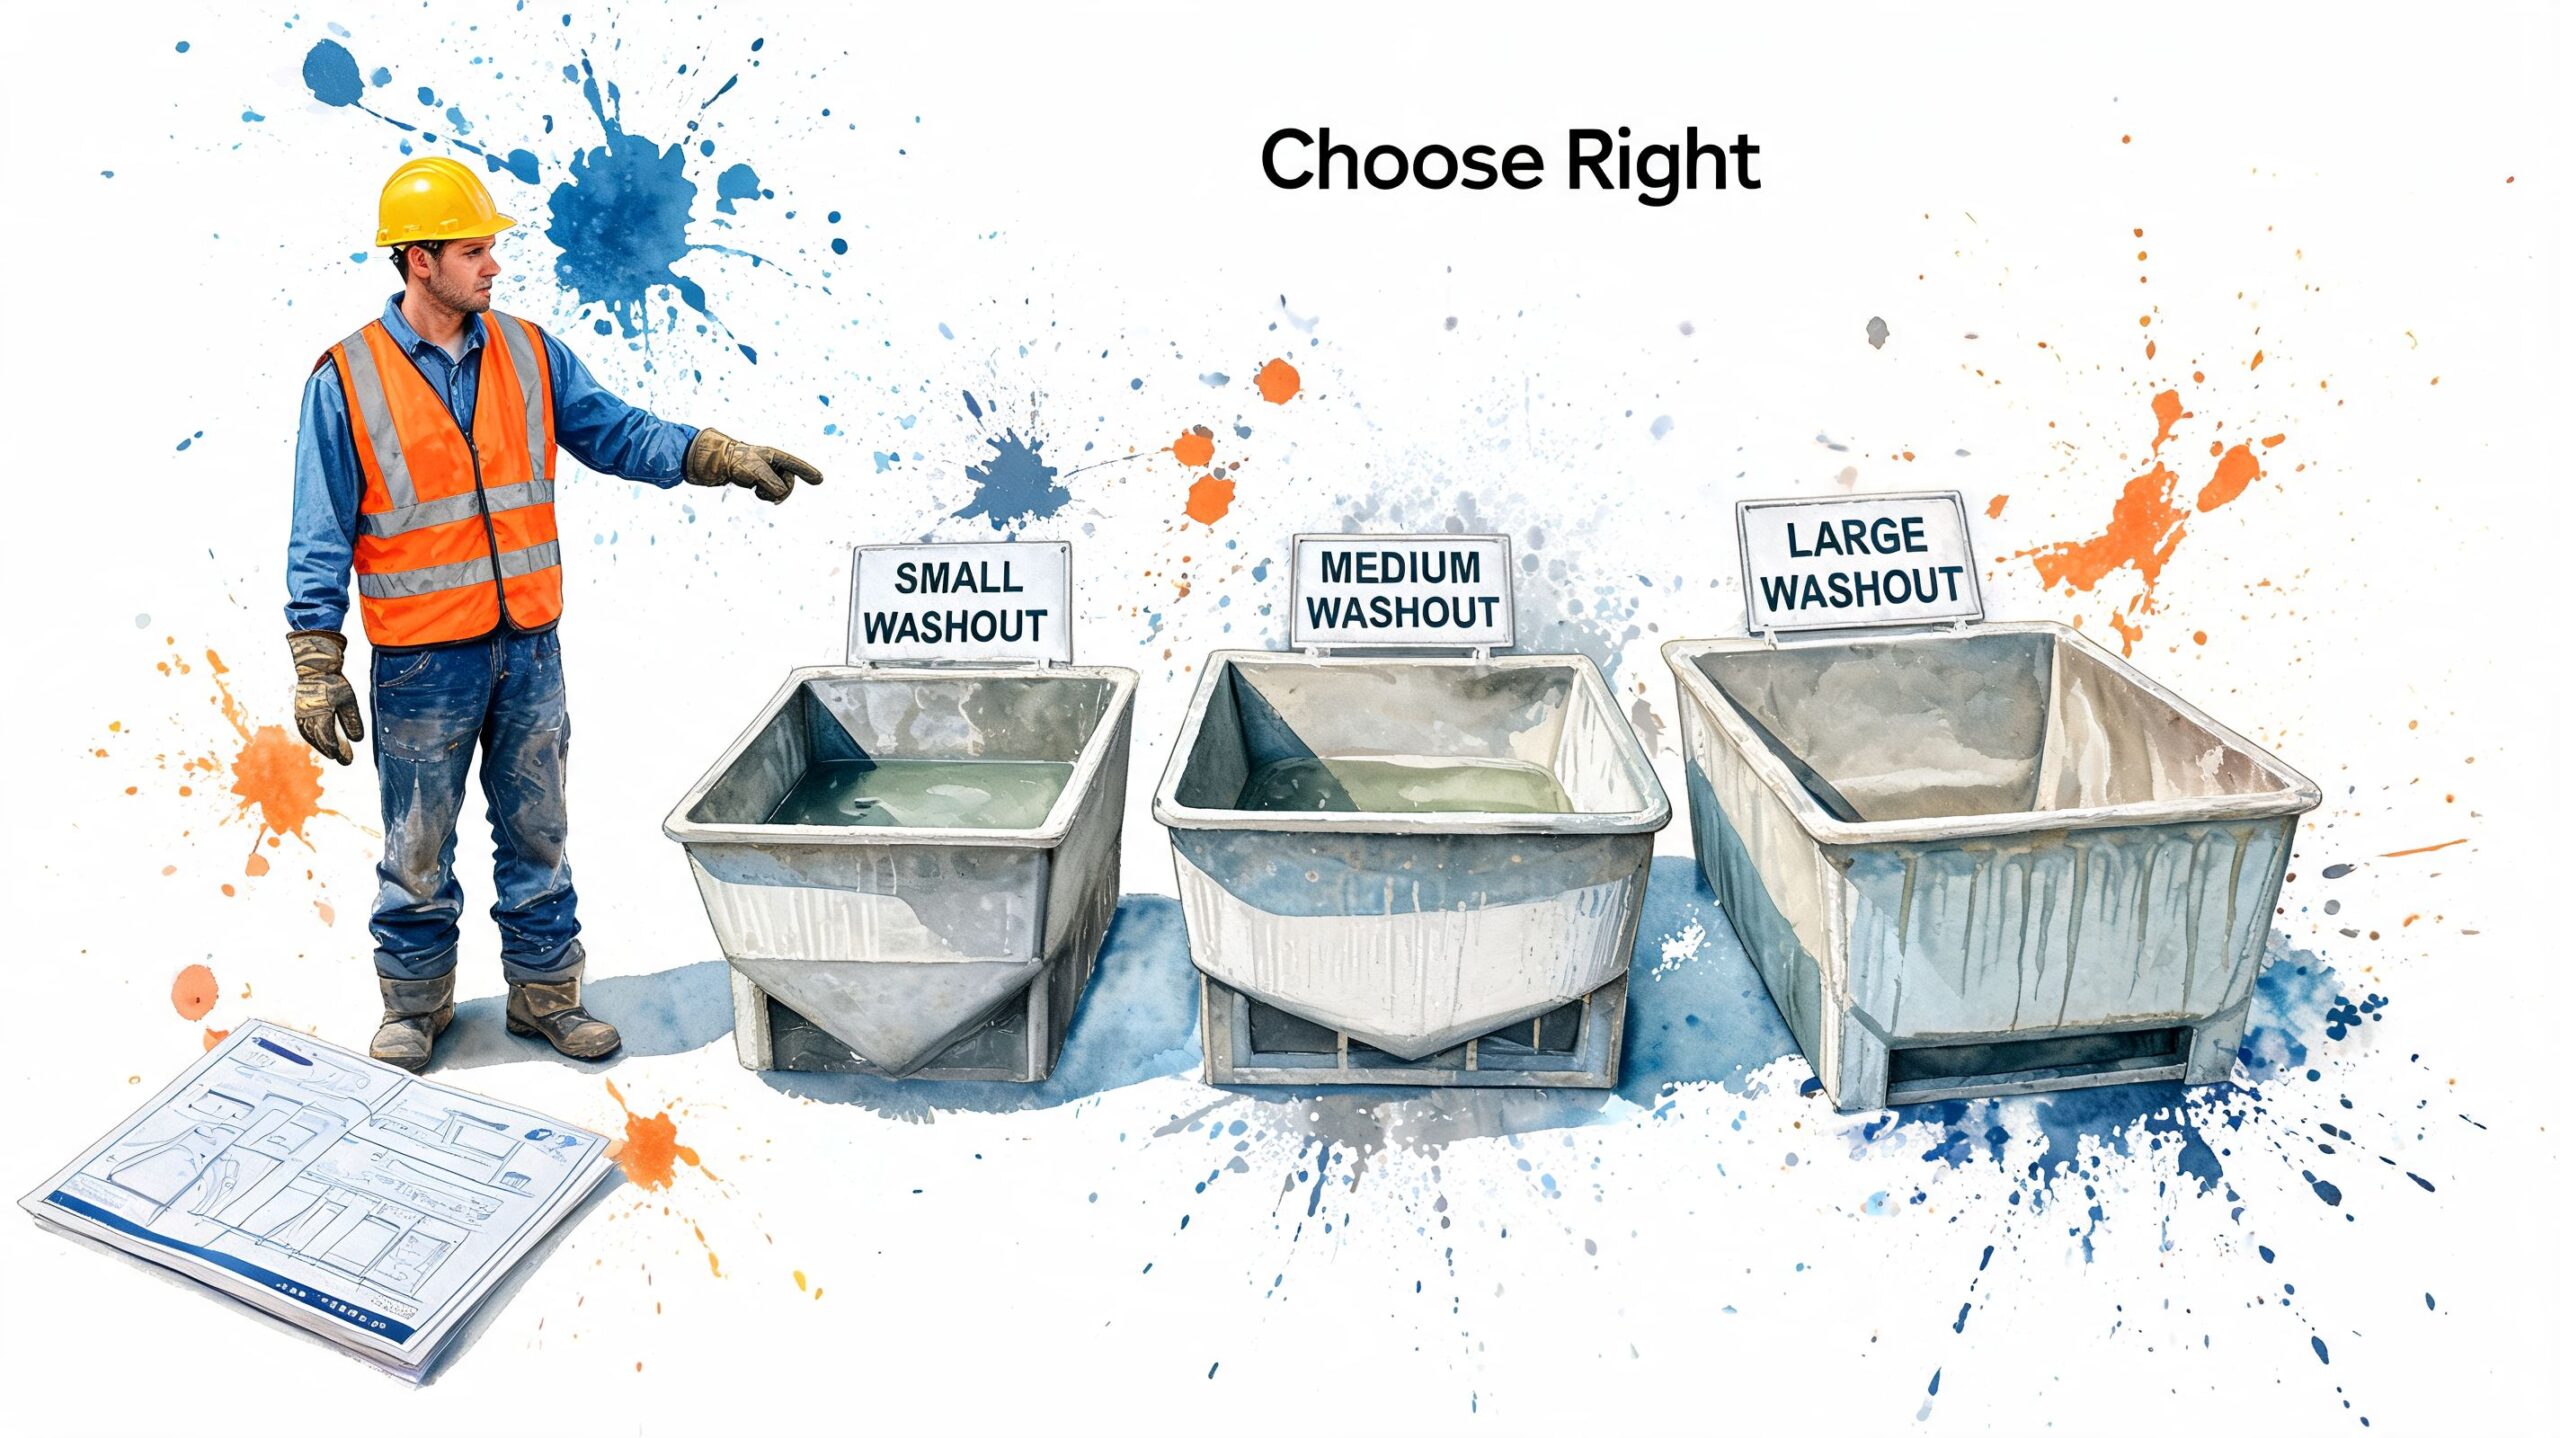
Size the rental around service intervals, not just pour volume
Crews often focus on the next pour. The better approach is to size for everything that will hit the container before the hauler comes back.
That includes mixer chute washout, pump washout, hand tools, buggy cleanup, and the extra rinse-outs that always show up on a busy placement day. A container that looks oversized on paper can be the cheaper choice if it prevents an emergency swap, a second delivery fee, or a crew standing around with nowhere legal to wash out.
Use a simple field check:
- Match capacity to the full washout cycle: Count all expected washout events between delivery and pickup, not just concrete placed.
- Leave working room in the container: Freeboard matters because one heavy rinse can push slurry over the side.
- Coordinate service with the pour calendar: If multiple placements stack up in one week, schedule changeout before the container becomes a problem.
- Pay for predictability where it matters: A slightly larger rental or an extra service stop often costs less than one spill response and the schedule hit that follows.
Pick a container the crew can use without fighting it
The best rental on paper still fails if trucks cannot reach it cleanly or if the washout point is awkward enough that drivers bypass it. Selection needs to account for site access, traffic flow, and the type of equipment being washed out.
Check the container itself before it lands on site:
- Watertight condition: No cracks, failed seams, or bent sections that let liquid escape.
- Usable liner: Liners need to be intact and suited for concrete recovery and cleanout.
- Access configuration: Some operations need a ramped setup for pump components or heavier washout activity. Standard mixer washout may not.
- Hauler compatibility: The rental company needs room to deliver, swap, and remove the unit without disrupting the pour or crossing sensitive finished surfaces.
I look at one question first. Can a tired driver find it, reach it, and use it correctly without extra instruction? If the answer is no, the location or the container style is wrong.
Set the container where compliance is realistic
Placement is where a lot of jobs give away the benefit of renting a proper unit. The container may meet the spec, but if it sits in a muddy corner, behind stored material, or along a tight haul road, crews stop using it the way you planned.
Good placement is straightforward:
- Keep required separation from drains and watercourses.
- Place it on stable ground that will hold up under repeated truck traffic.
- Keep it outside normal traffic conflict points.
- Make it visible from the active concrete operation.
- Protect any down-gradient inlets if runoff could still reach them.
There is a trade-off here. The safest environmental location is sometimes less convenient for drivers. The most convenient traffic location is sometimes too close to drainage. The job is to solve both. On a tight site, that may mean using one primary washout container and scheduling shorter travel paths for trucks, instead of placing a unit in the nearest open spot and hoping the crew makes it work.
Deployment is a field operation, not a procurement task
Ordering the rental is the easy part. Deploying it correctly takes a short plan and clear ownership.
Before the first concrete truck arrives, confirm the delivery spot, mark the washout area, brief the concrete crew, and assign one person to watch capacity during placement. If the rental company offers scheduled changeout, lock that timing in before the container is close to full. Waiting until the bin is nearly topped off usually means paying rush rates or accepting spill risk.
A good deployment plan cuts hidden cost. It reduces wandering washout, avoids cleanup labor, prevents rework around stained pavement or hardened residue, and gives the inspector a visible control that matches the SWPPP. That is why rentals often pencil out better than they first appear. You are not only renting containment. You are buying a more controllable process.
Best Practices for Managing and Recycling Washout Slurry
A washout bin can stay compliant on Monday and turn into a disposal problem by Thursday if nobody is managing what is going into it, how fast it is filling, and when it is getting serviced. That is where a lot of crews get burned. They install containment, then treat everything after that like cleanup. Slurry management needs to be run like part of the concrete operation, with the same planning discipline as the pour itself.
Once slurry hits the container, it starts separating on its own. Solids settle. Water stays above. If the crew protects that separation, the container holds usable capacity longer, pumping or removal is easier, and recycling stays on the table. If the bin gets loaded with trash, mud, rebar tie wire, lunch waste, and random rinse water from elsewhere on site, disposal costs go up and recovery options shrink.
Day-to-day handling that works
The field rules are straightforward, but they need enforcement.
- Send all chute wash, pump wash, and tool rinse to the same designated unit: One controlled stream is easier to inspect, service, and document.
- Protect the liquid layer from contamination: Keep soil, trash, and general site debris out of the container so removal and recycling stay practical.
- Track sediment buildup during active concrete work: Capacity drops faster than crews expect, especially on repeat pours or pump-heavy days.
- Service before the container gets tight: Waiting until the bin is nearly full usually leads to rushed changeout, overflow risk, or higher hauling cost.
- Keep washout water inside the system: No side dumping, no relief cuts in the liner, no informal rinse spot behind the trailer.
Crews follow the system that is easiest to use under production pressure. If the designated washout process is slow, too far away, or already overloaded, ad hoc dumping starts. That creates the exact cleanup cost and inspection exposure the washout plan was supposed to prevent.
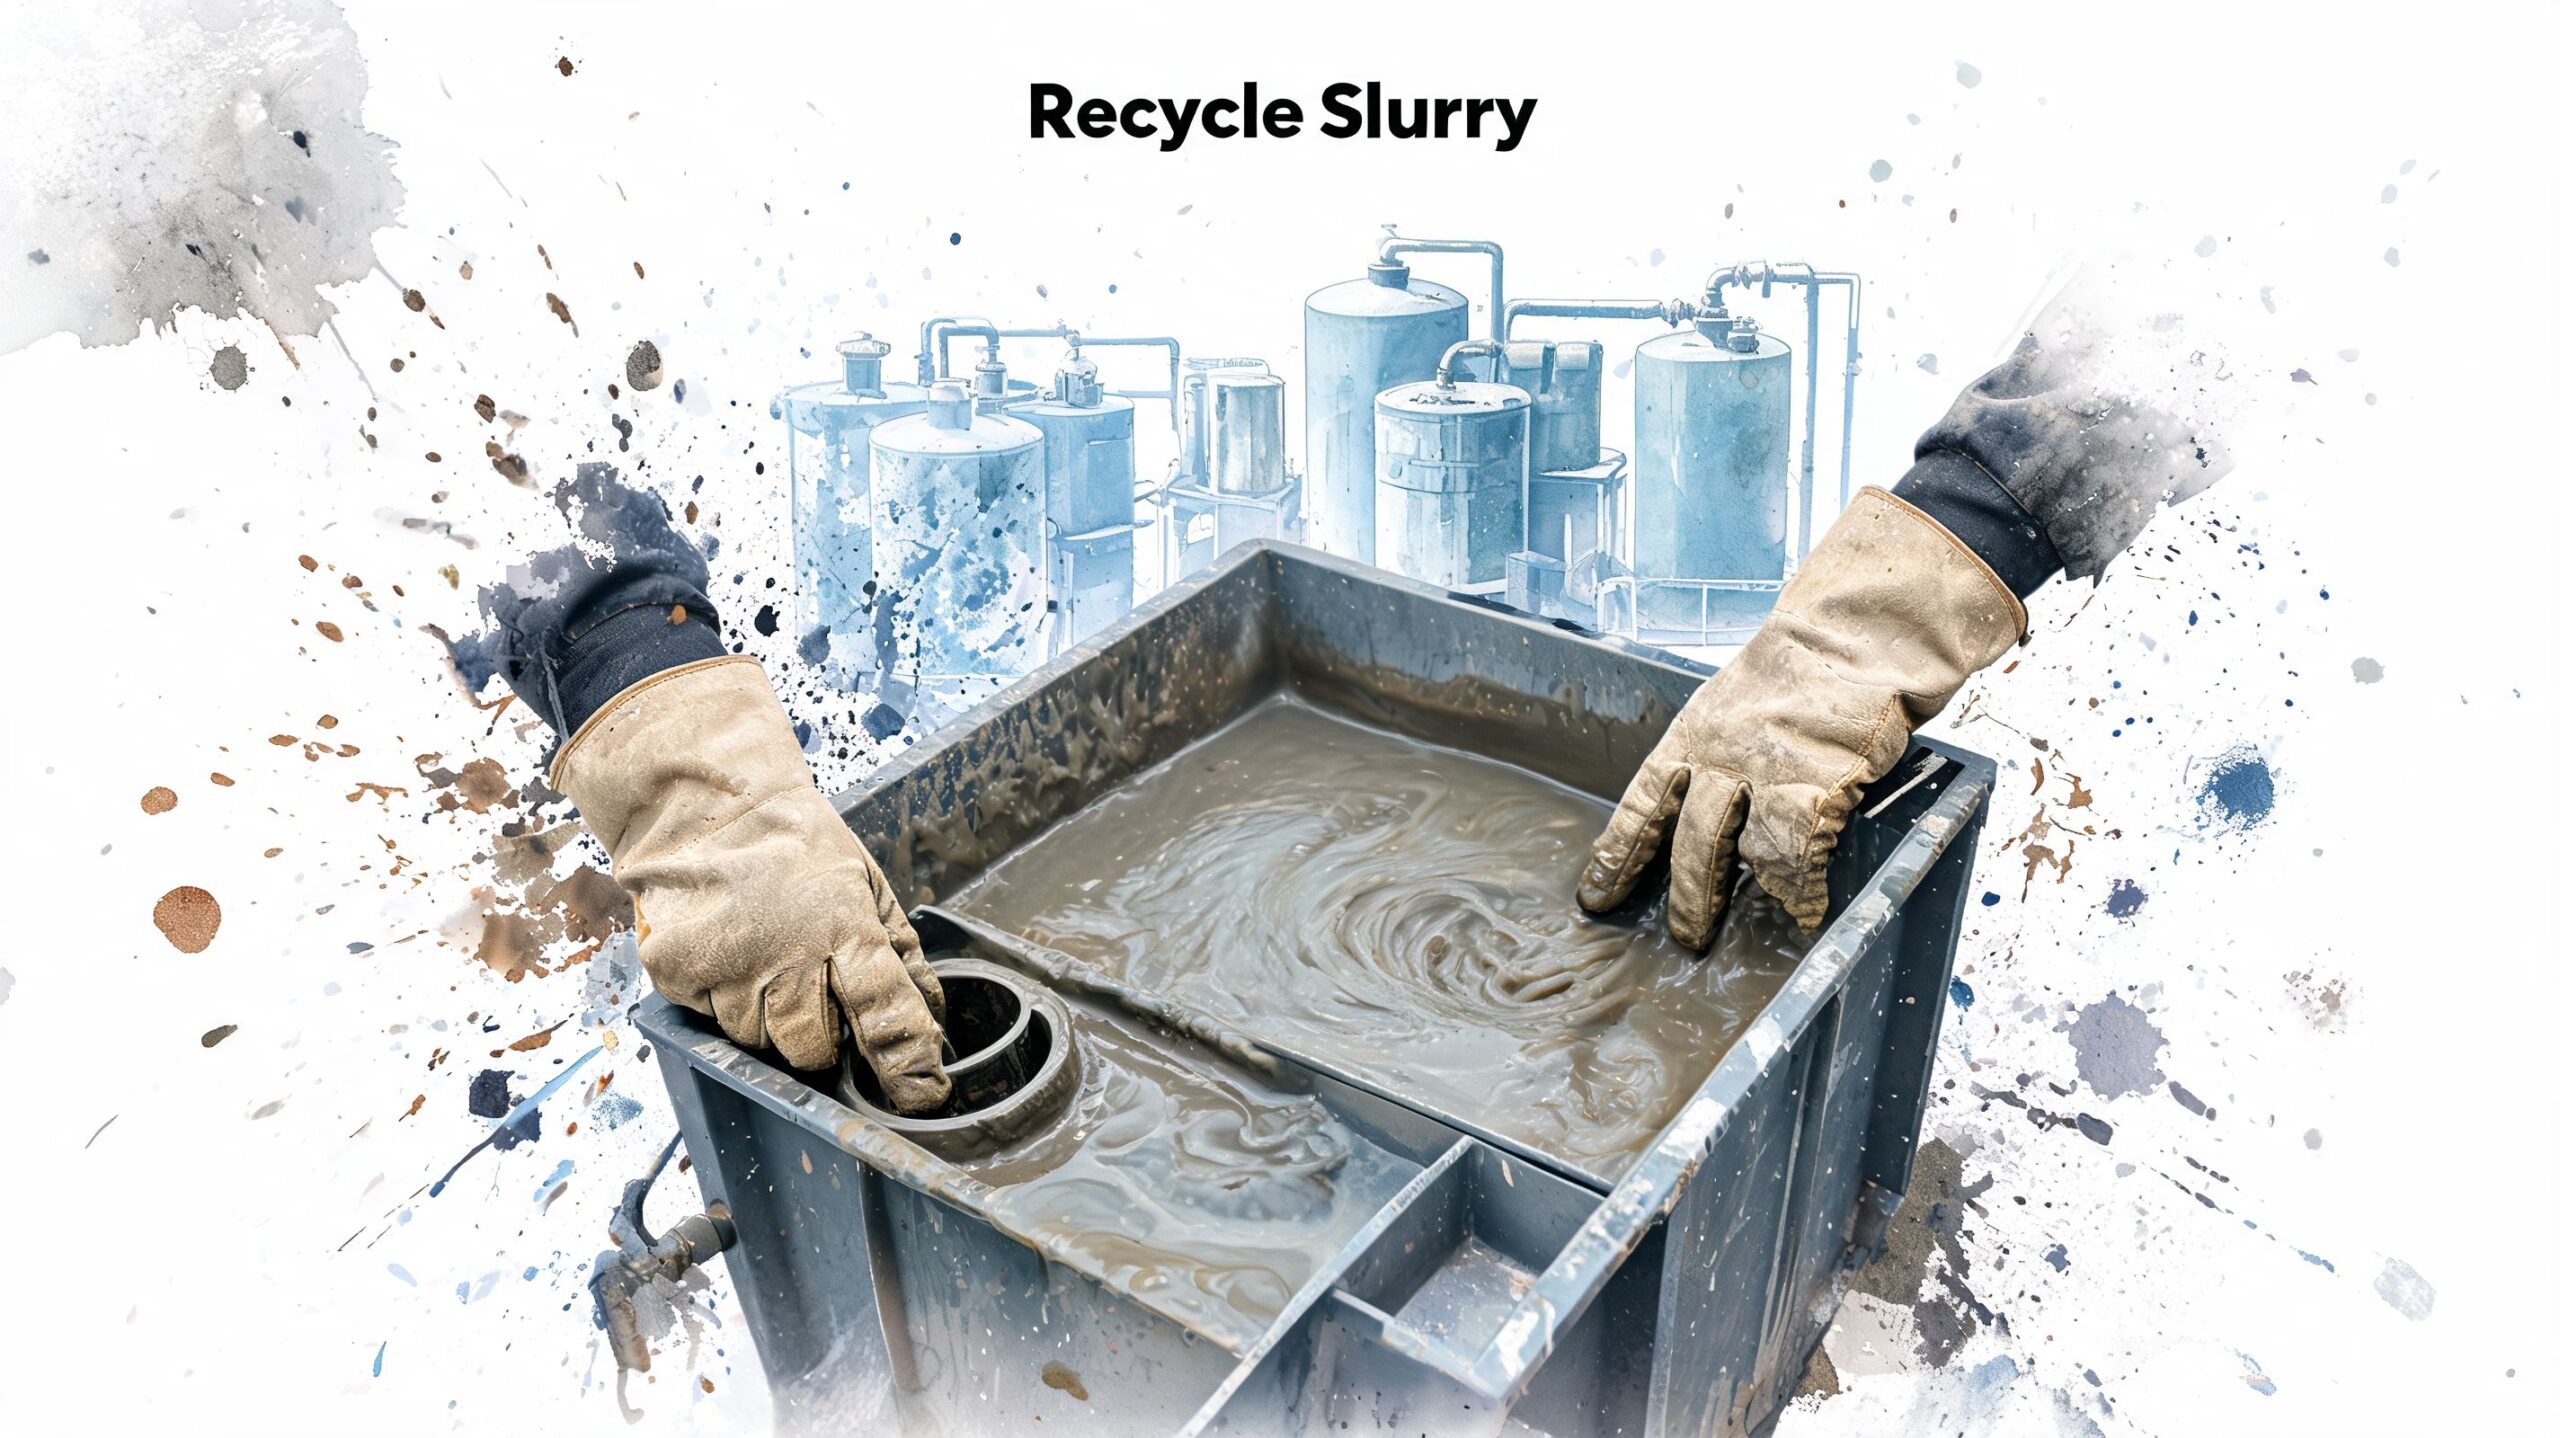
Recycling starts with clean handling
Washout slurry is easier to recycle when the material stream stays clean and consistent. Separated solids can be processed for beneficial use. Water can sometimes be managed for reuse, depending on the system and the project setup. The deciding factor in the field is usually not technology first. It is discipline first.
A University of Florida analysis of a South Florida washout recovery program found that organized collection and recycling kept a large volume of material out of disposal-only handling and produced measurable environmental benefit, according to the University of Florida washout recycling report. The practical takeaway for contractors is simple. If the washout stream stays clean enough to process, it can move into recovery instead of becoming a mixed waste problem that costs more to haul and dump.
That is the primary trade-off. Recycling is not just an environmental talking point. It is a cost-control option. But it only works if the crew protects the material from contamination early.
Where better systems save money
On small jobs, basic containment and timely service may be enough. On repeat-pour work, high-volume sites, or projects with limited room for swap-out delays, treatment-capable rentals can lower total handling cost. They can reduce the amount of material hauled off as wet waste, stretch service intervals, and cut freshwater demand if the operation is set up to reuse water appropriately.
That does not mean every site needs added treatment equipment. It means washout should be priced and planned as an operating system, not as a last-minute rental line item. A cheaper container that fills too fast, requires emergency service, or turns recyclable slurry into contaminated waste is often the more expensive choice by the end of the job.
Practical management standards for the crew
Use a short routine and assign ownership.
- Confirm who is checking washout capacity during each pour.
- Inspect the unit at the start and end of concrete operations.
- Remove debris before it gets mixed into settled material.
- Schedule pumping, changeout, or haul-off before access or capacity becomes a problem.
- Coordinate with the rental or recycling vendor early enough to avoid rush fees and work stoppage.
- Keep records of inspections and service if the project requires SWPPP documentation.
Good slurry management protects compliance, keeps the site cleaner, and gives the contractor more control over disposal cost. That is why washout rentals should be treated as part of the compliance plan and the budget plan at the same time.
Implement Your Compliant Washout Plan Today
A solid washout plan protects the site in three ways. It keeps you aligned with permit requirements, it reduces the chance of a preventable spill, and it gives the crew a cleaner, faster way to handle one of the messiest parts of concrete work.
The best approach is rarely the one that looks cheapest in the moment. It’s the one that holds up under real job conditions. That usually means purpose-built containment, clear placement, active monitoring, and a removal or recycling path that’s decided before the unit starts filling up.
Use this checklist before your next pour:
- Review the project controls: Check the SWPPP and confirm the designated washout approach fits current site conditions.
- Choose the containment method intentionally: Don’t default to a pit just because that’s how the last job handled it.
- Size for the actual work: Consider the pour sequence, equipment being cleaned, and how long the unit will sit before service.
- Place the unit correctly: Keep it accessible to trucks and clear of drainage risk.
- Brief everyone who touches the operation: Drivers, pump crews, laborers, and finishers all need the same instruction.
- Inspect and service it before it becomes a problem: Overflow and ad hoc washout usually happen when the designated unit is neglected.
Crews don’t get fined for having a concrete pour. They get fined for poor control. If you make washout part of pre-pour planning instead of post-pour cleanup, you’ll avoid most of the trouble sites create for themselves.
If you need a straightforward way to put that plan into action, Reborn Rentals offers specialized concrete washout containment rentals with clear daily pricing, delivery coordination, and equipment built for active jobsites. For contractors who want a cleaner setup without improvising pits or chasing disposable options, they’re worth contacting before the next pour hits the schedule.